Tallow Soap

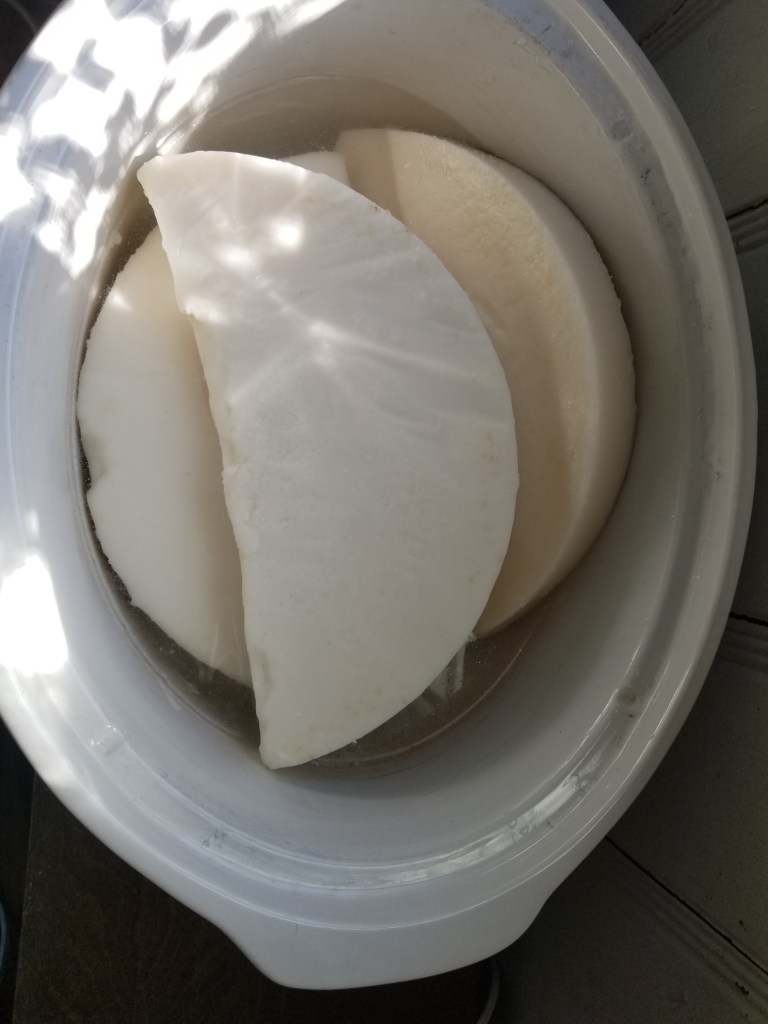
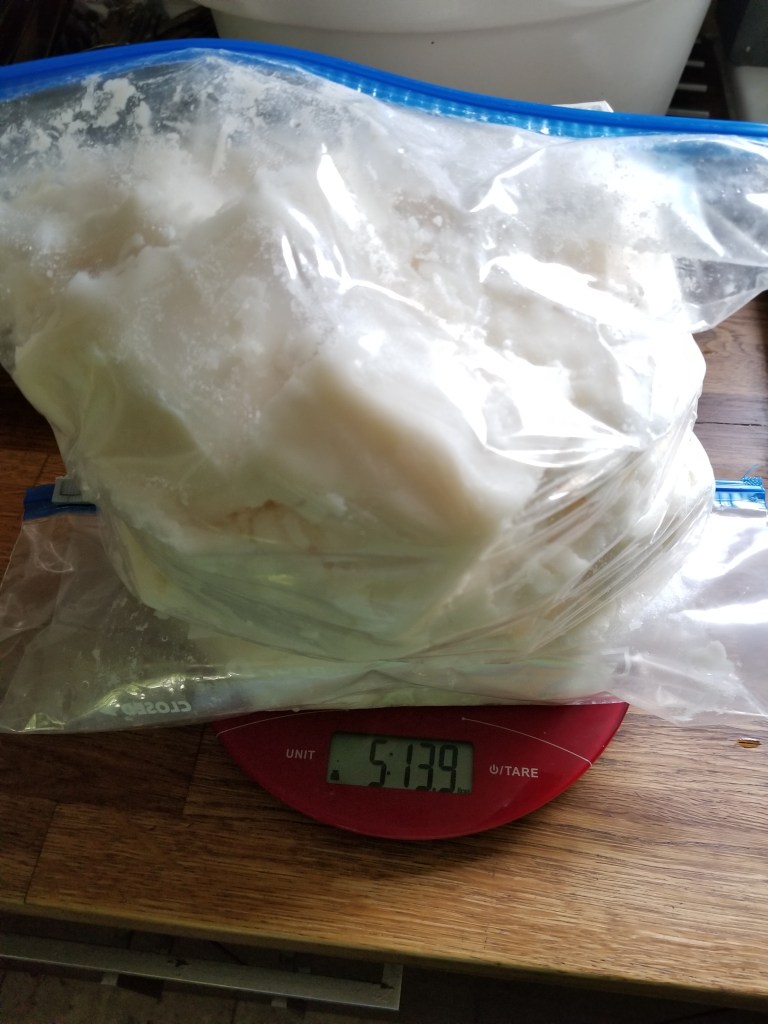
When I called the butcher to discuss what cuts of meat I wanted from my lamb, I asked for everything but the head.* I specified all bones and fat trimmings. Imagine my delight when I picked up my bounty, neatly labeled and vacuum sealed, save for the untied 20 gallon trash bag of frozen trimmings–the bag that occupied the bottom drawer of my stand up freezer for 4 years, with the odd bone pulled our here and there to make stock.

Between working the farmers market stall next to Marjie, the soap making class I took with the MI Folk School, and the power of the internet, I was sure I could make my own soap. While this meant rendering the tallow, I had participated hands on, once, and people have been making soap for thousands of years! And I had a recipe!

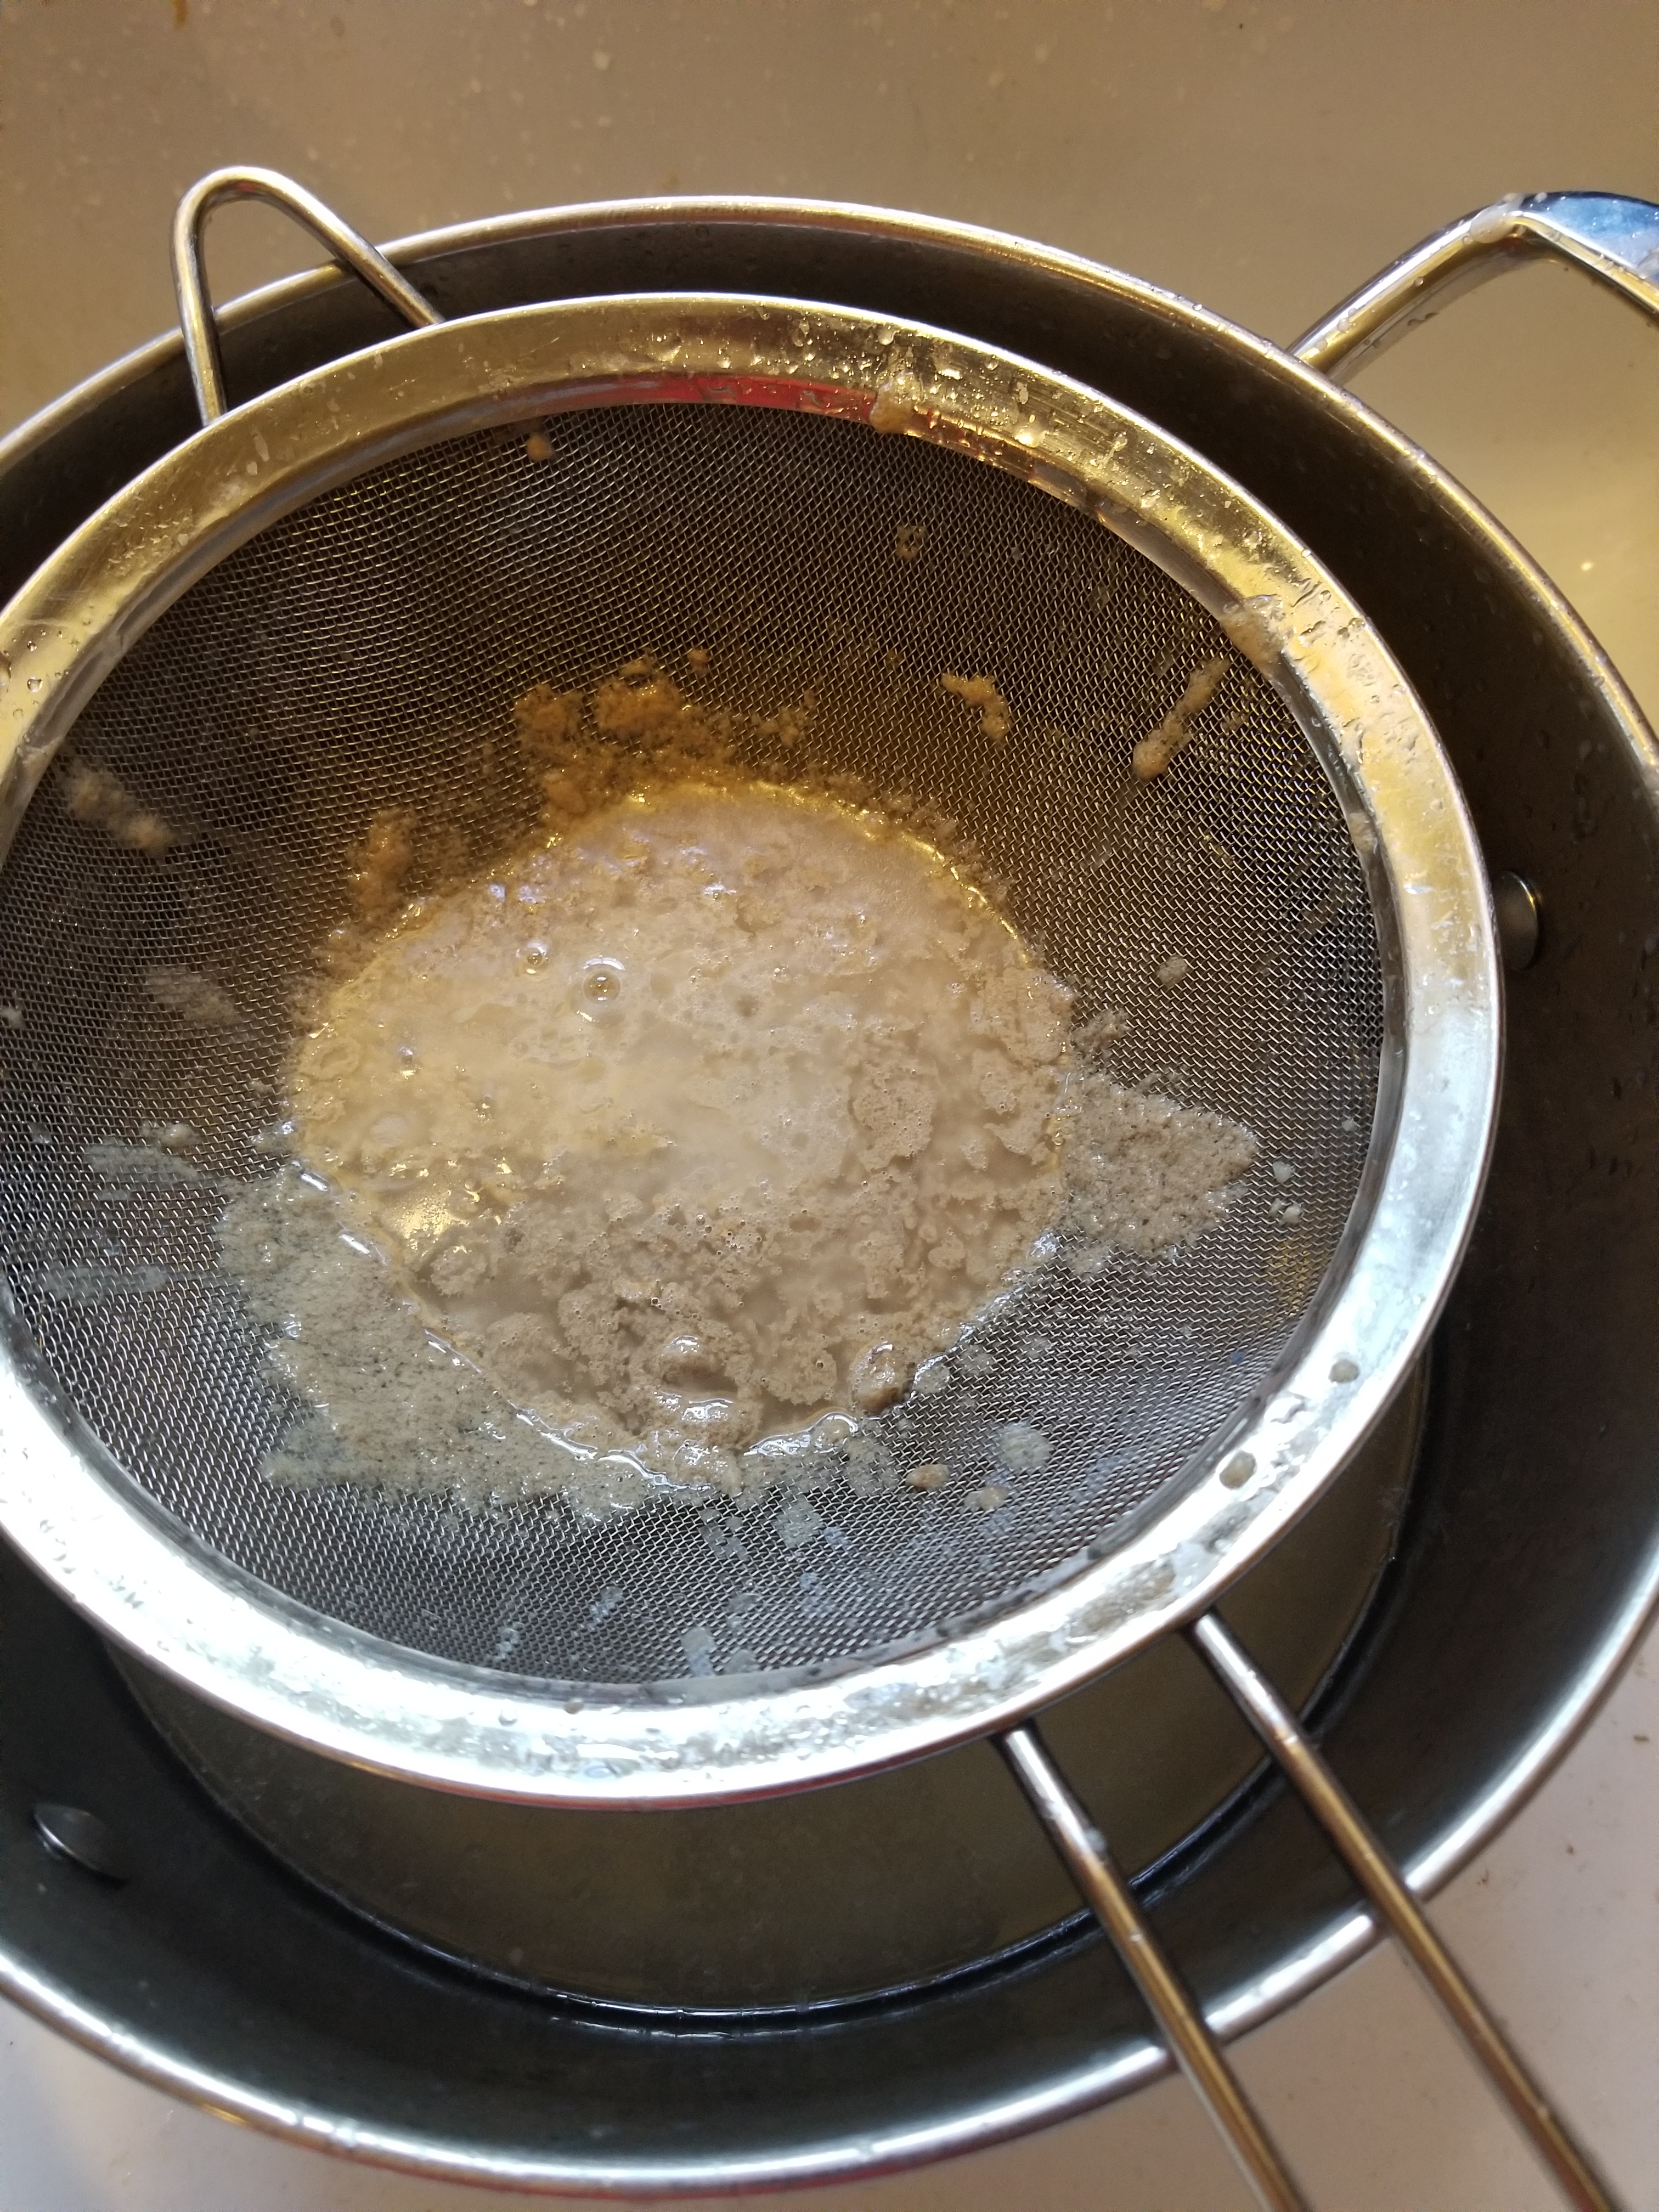
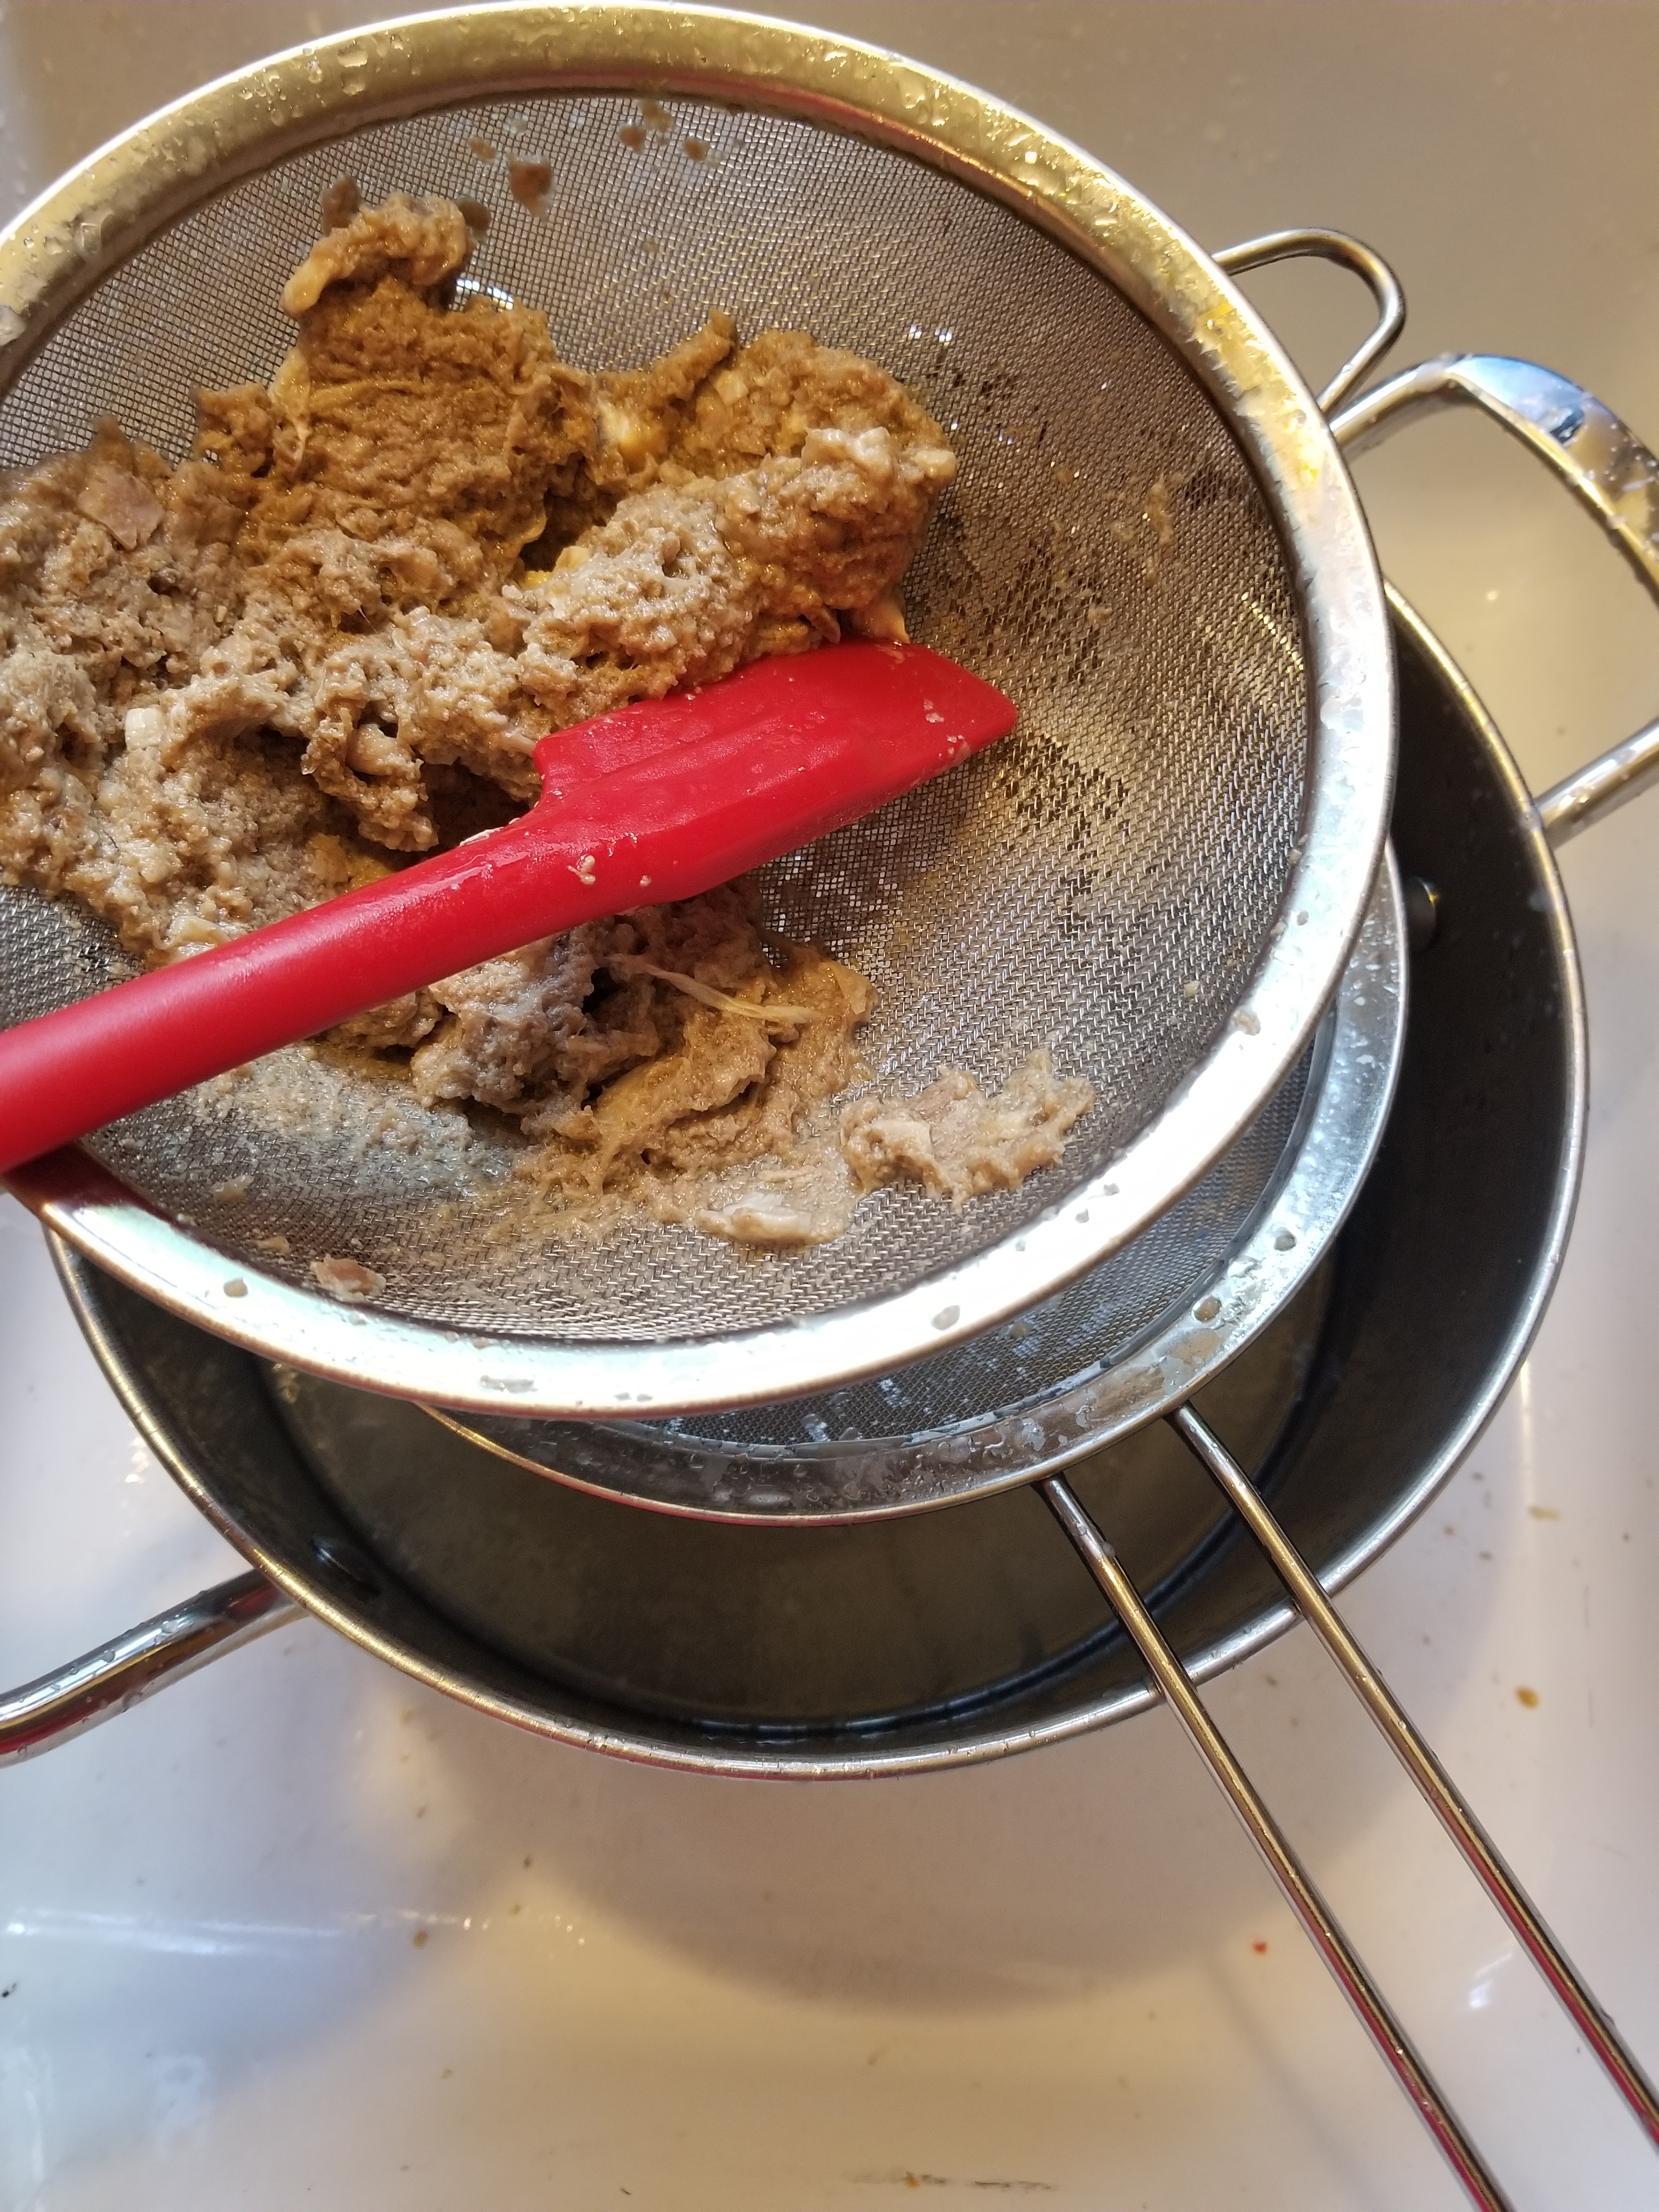
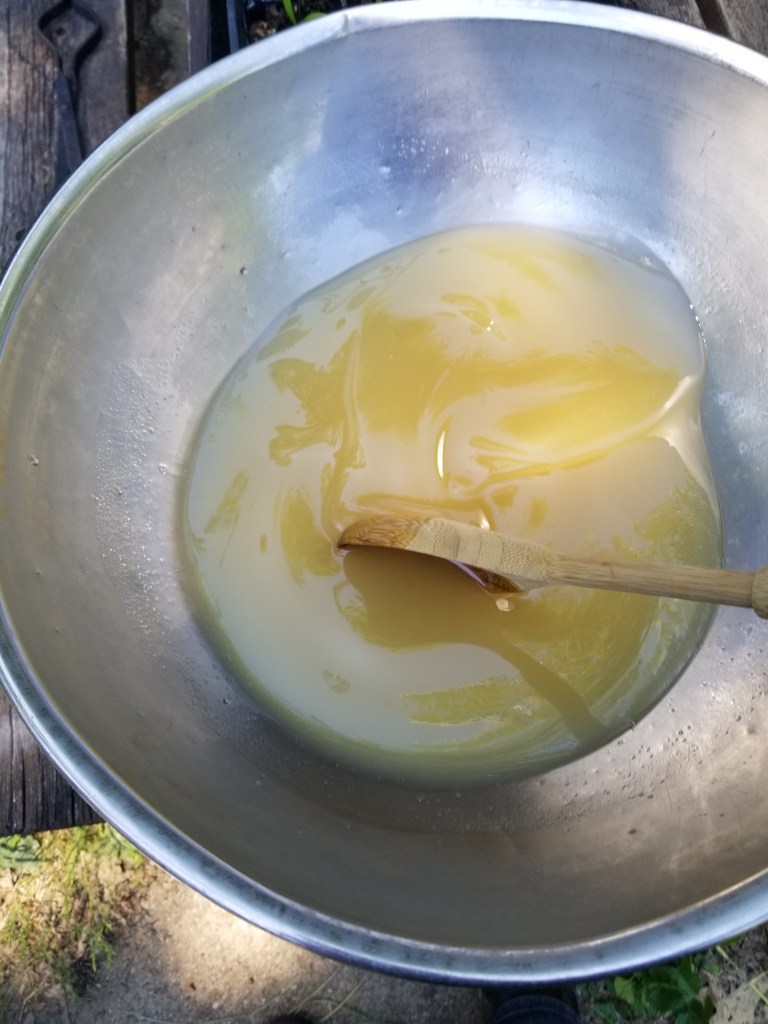
Y’all. I lost the recipe. I had it squirreled away somewhere, but four years is a long time for me to keep track of two pieces of paper. In retrospect, the class didn’t use tallow in it’s recipe and I would have had to change it anyway. It is unlikely I would have recognized this though and probably would have used the recipe as written. Instead, using a lye calculator and betting on average, I was ready to begin. I melted the tallow on the stove, got it too hot and had to wait an hour for it to cool enough, then I was ready. Caustic chemicals are super scary, so I fully dressed for the occasion.

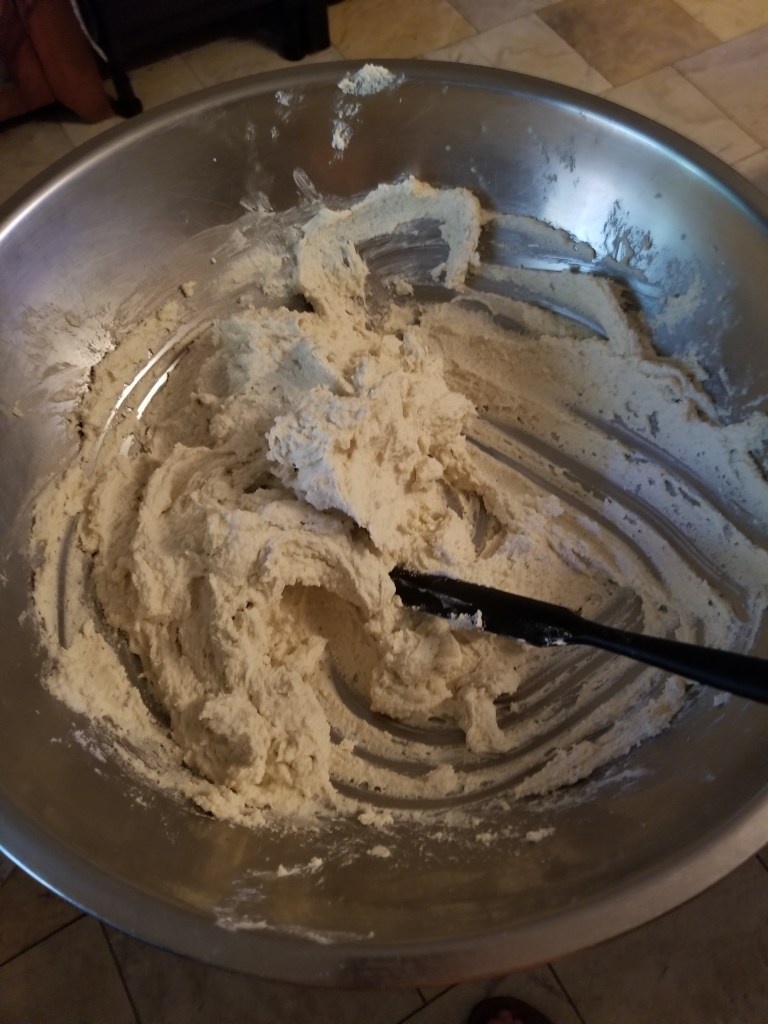
This experiment was the perfect use for these massive stainless steel bowls I bought through an online auction of a defunct secondhand commercial kitchen mart.

Stir, stir, stir… the first warning that something was wrong with my calculations was that the soap took three times as long to get to the “trace” stage than it was supposed to.

But it did. I was dancing around my backyard, literally jumping with joy. At this stage, I added lavender essential oil I bought from a company in Kalamazoo. Everything local! Using an old Tupperware that I generally use to mix potting soil in for a mold, the soap was covered, swaddled with a towel and let to rest over night. The directions I settled on said to unmold and cut after 24 hours and place on a wooden rack to cool. I choose the closest thing I had.

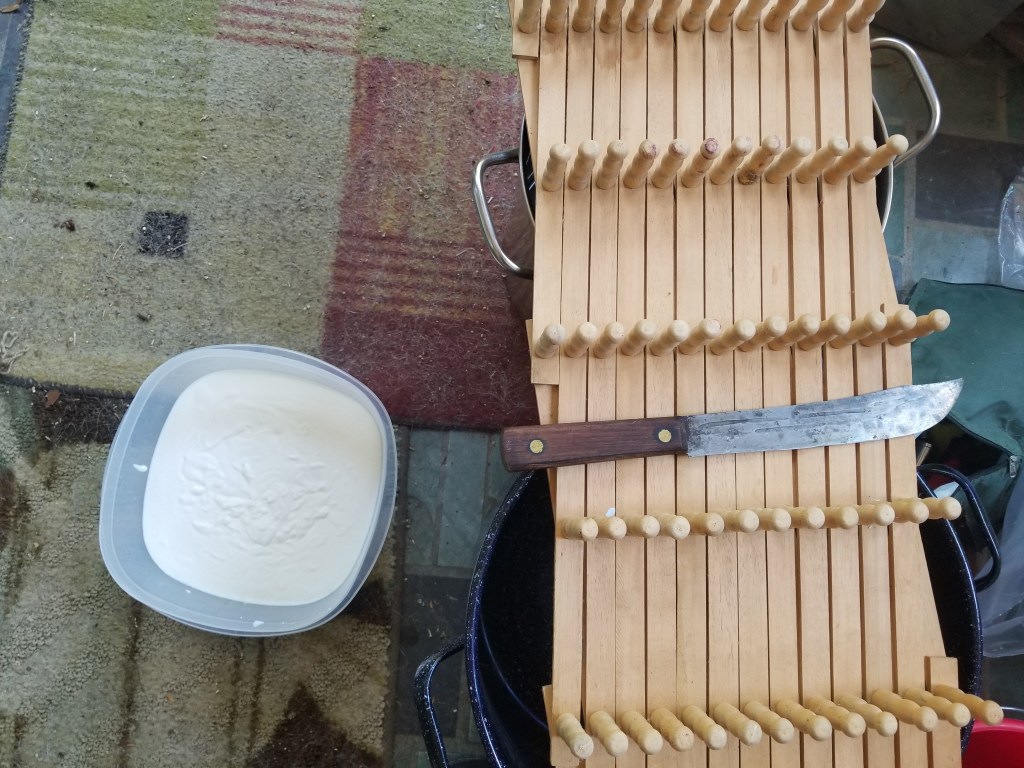
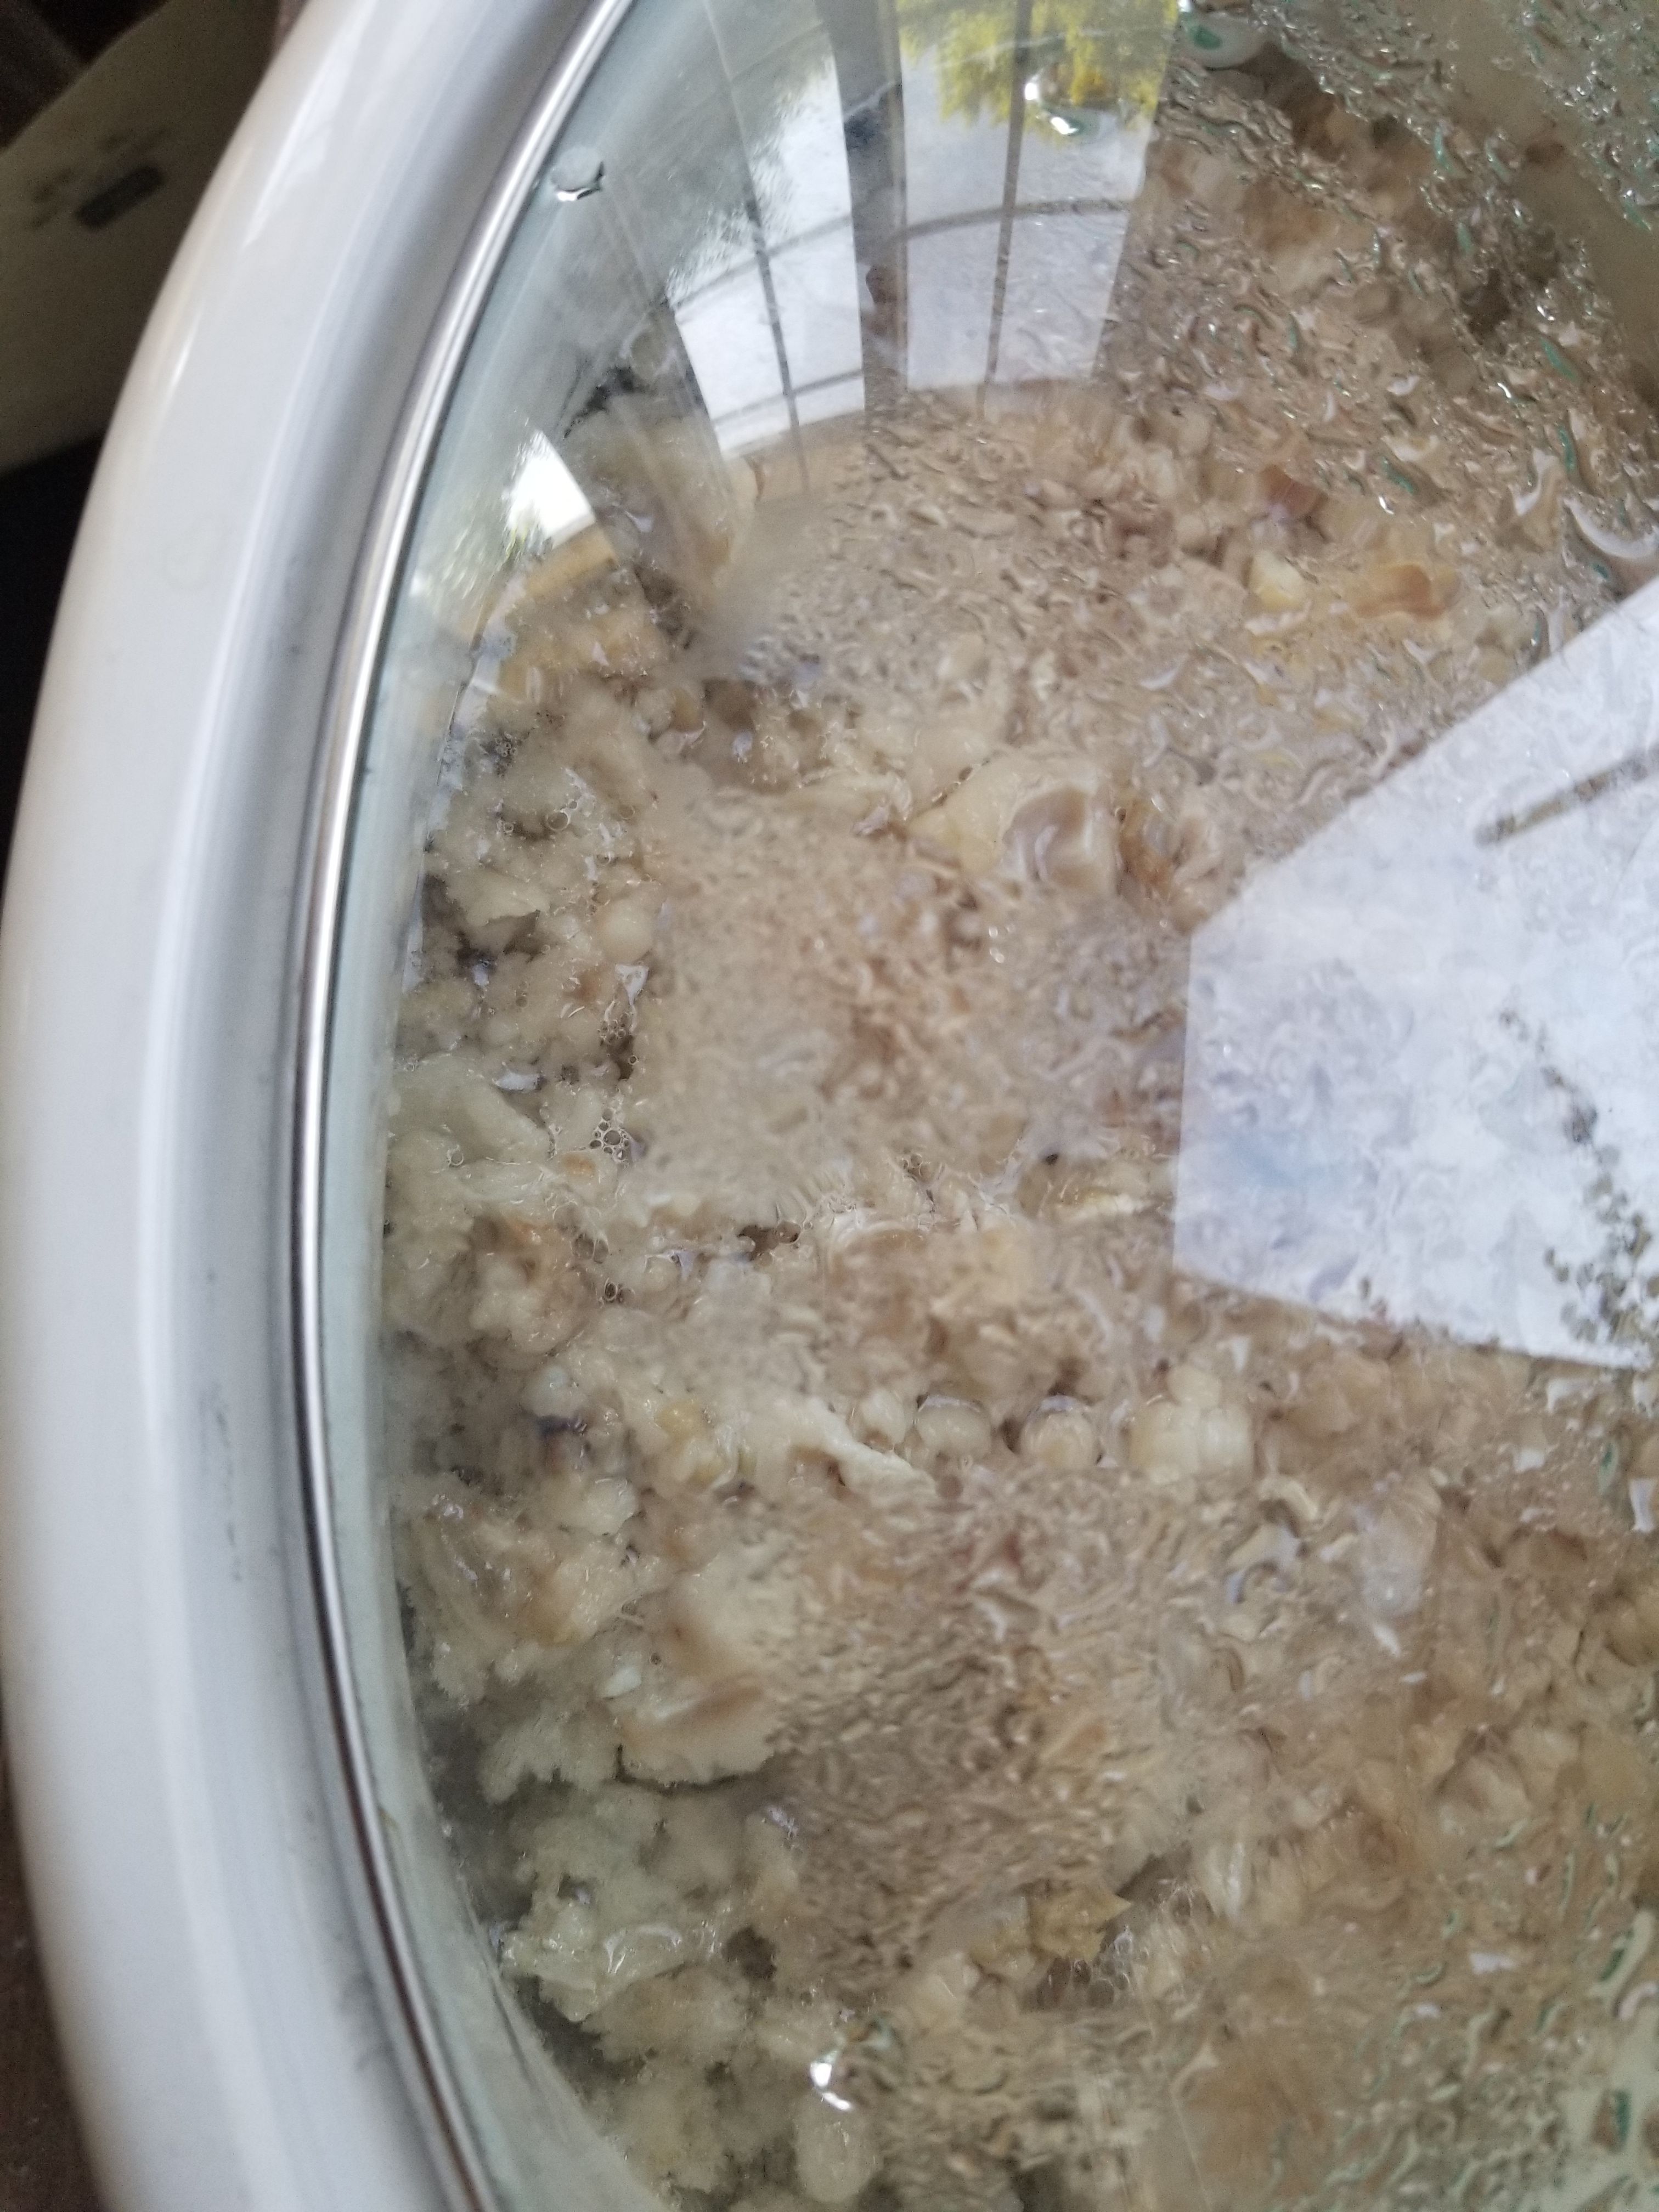
The second time I knew I had done something wrong was when I attempted to unmold and cut the soap. I chose not to “superfat” the soap and maybe this was my mistake. I imagined something much more pliable than my result, like a hard fudge. What I got instead was more like fudge that you forgot about and let sit out on the counter for a few weeks.

Here we are. The rack of soap is currently curing in a closet. In about three weeks I will report back on the efficacy. It’s so crumbly, I may end up using the majority for laundry soap. For now, at least, it is acting like a lovely air freshener for the first story of the house.

If you’ve any experience with soap making (or not) and have any troubleshooting tips to offer up, I’d be much obliged. I used roughly 1/3 of the tallow I rendered to leave room for improvement.

*It should be noted the butcher I chose took this to heart. I was concerned when I saw something black in the bag of trimmings. Had my freezer gone out and some point and it molded? Nope. Feet. Black, fuzzy feet.

Tamales

The first culinary use of the rendered tallow came with quite the learning curve. I’ve eaten tamales many times, in many different iterations, but had never made them. Fortunately, I came across an excellent video tutorial. While a basic understanding of Spanish helps, this video is easy to follow without.

The rendered tallow is worked by hand until it resembles frosting. The batter is then kneaded with warm vegetable broth to insure complete hydration of the Maseca corn flour. It is said that to test when the batter is ready, a small chunk will float in a glass of chilled water. That chunk remained floating during the entire process of filling and steaming two batches. I am still extremely proud.

For the filling, I used a 2.5 pound boneless pork loin (what I had on hand) simmered in vegetable broth in the slow cooker on low for roughly six hours. I used two different salsas to dress the meat: leftovers from my most recent canning and a green tomato/avocado based sauce.

For dinner, we ate them immediately as is. Fortuitously, I preferred the green (topped with red), while my partner preferred the red. For breakfast, I made myself a feast with an over-medium egg and fresh cilantro garnish.

The recipe is straightforward, the fussiest part is creating the correct consistency. I needed to add twice the liquid called for to form a spreadable batter. At its base, all you need is lard (or tallow), vegetable (or other) broth, salt, baking powder, and Maseca corn flour which is easily found at any major grocery store. The filling can be any shredded meat with sauce or it can be made vegetarian by substituting Crisco for lard with corn, beans, peppers, and cheese. Without someone to teach me, having a video that really shows the textural changes the batter undergoes while kneading was tantamount to my success.

Tamales were a lot more work than I anticipated, but the flavor was better than anything I’ve had before. To achieve this, I recommend using an extremely flavorful broth and not skimping on the salt. Luckily, tamales freeze very well and we have a few more meals to enjoy in the future.

Tallow

In 2014, I attended the second 4-H auction of my life. The year previous, my friend Jen shared her secret to local, ethical, affordable meat that supported area youth. I signed up as a bidder with the hope of returning home the proud owner of a delicious pen of chickens. What had been, in years past, a category overflowing had dwindled to one family of three children raising chickens. I was quickly and devastatingly outbid by local businesses who were better able to financially support the kids. Admittedly, I was more interested in eating the fruits of their labor. I did manage to win a pen of rabbits which gave me the opportunity to learn how to breakdown an animal (thanks, YouTube).

But in 2014, I was determined to come home with a much larger prize to fill my new freezer. I don’t eat a lot of meat, especially not red meat, but I do have a taste for lamb.* This was my first time bidding in a live auction and I was ill-prepared for how stressful it would be! Every time I raised my paddle, my heart was pounding out of my chest, I was sweating, and I’m pretty sure I cried a little. I set a price cap and was outbid on my first three choices. On the fourth, I was also outbid, but the winner chose to only take the smaller of the two lambs (they are generally sold in pairs). At this point, as the second highest bidder, I was asked if I would like the larger lamb at the winning bid. I was so exhausted from bidding and had only planned on keeping one lamb, so I agreed. Jen was joyously congratulating me when I felt someone tapping on my left shoulder. I turned to see an elderly woman at my side, smiling at me with teary eyes. “Thank you,” she said. When I clearly looked confused she elaborated, “That was my grandson. Thank you so much for buying his lamb.” The unlikelihood was not lost on me, and this definitely felt fated.

With my goal met, Jen and I wandered off to find the lamb I had purchased. I took her photo, which has since been lost due to my poor digital management skills. Shown is the lamb I purchased this year. I cannot stress the importance of knowing where your food comes from, of teaching children where their food comes from, to begin to build an appreciation for the world we live in. With that appreciation comes gratitude.

That same year, I had taken a soap making class with the MI Folk School. As a person, I want to see and do everything at least once. When I had my lamb butchered, I asked for everything but the head. I specified all bones and fat trimmings. I had plans to make stock and to make soap.

Fast forward six years and with the purchase of another lamb looming in my future, I needed to make space in the freezer. The bottom drawer was completely full of a garbage bag of trimmings.

I worked through it in batches. Thawing, grinding, and cooking down the trimmings. I used the wet method of rendering the tallow. This meant adding enough water to submerge the particles. I used my giant crockpot, which I set in the mudroom as all the articles I read warned that this process would be stinky. This was the right choice. While it didn’t smell bad, it smelled a lot.

After the first rendering, which I left to cook overnight, I realized I had quite a bit of straining to do. The suet was still in chunks and I was aiming for a homogeneous product. After double straining, I let the mixture cool to separate the tallow from the liquid. This remaining liquid was brown and thick and per internet recommendations, I flushed it down the toilet. I was left with impure tallow that still smelled a bit meaty. Personally, I prefer my soap to not smell like food. I wet rendered the tallow a second time and created a creamy white, almost scent free product.

I felt so much gratitude at this step. I stood over my pot of tallow and cried, thanking this lamb and the little boy who raised her for giving me this opportunity. Not only for feeding me for the last few years, but now allowing me to create another tangible, necessary item and grow my skill set.

I might not have taken the head or hide, but I used as much of this animal as I could. I rendered, in total, just under 8 pounds of tallow, destined for soap and delicacies to be detailed soon.

*Not as big of an appetite as I had presumed; it took me almost six years to finish the whole lamb.