As I explained in my last post, I have been working to suss out moments of “cutting the ends off the meatloaf.” I love pizza and will be the first to admit I have been using the same reliably subpar pizza crust recipe for the better part of a decade.
It always turned out the same. Easy to work with and shape. Somewhat grainy texture and almost nonexistent taste. But it was always the same! Half whole wheat? Completely whole wheat? Add ground flax seeds? Forget to bloom the yeast? It reliably produced the exact same result no matter the stresses I put it under. But eventually, reliably mediocre is not enough.


The first new recipe I attempted was from Alton Brown. I wanted to trust this recipe for multiple reasons:
- the ingredients are by weight, which is imperative in baking
- percent hydration is discussed, as well as multiple comments including seasonal textural alterations
- rave reviews
- it’s Alton Brown!


The major setback with this new pizza crust recipe is that is makes THREE 12″ crusts. Now, I read through more comments on this recipe than I have on anything (combined) in the last year and no one in the comments seems to have a problem with this; there was only one off hand mention of potentially freezing the dough. Additionally, it should be noted that the dough must be started the day *before* you want pizza, due to an 18-24 hour rest in the fridge.
The crust was a pain to work with. In the next iteration, I will trust myself to play with the hydration percentage a little bit–the summer has the house extra humid and I am certain this impacted the product. It was however, much more flavorful, with a slightly chewy crumb. Much more like pizza crust than my old standby recipe!
Another setback here is our lack of a pizza paddle. This meant cooking the pizza in two ways: from a cold pizza stone and on a heated sheet pan. We now are the fortunate owners of a baker’s dozen of aluminum pizza pans which I will work with in the future.
As for the recipe as written, we are two people. Three 12″ pizzas is too much for us at once. As such, I instigated a freezing regime.
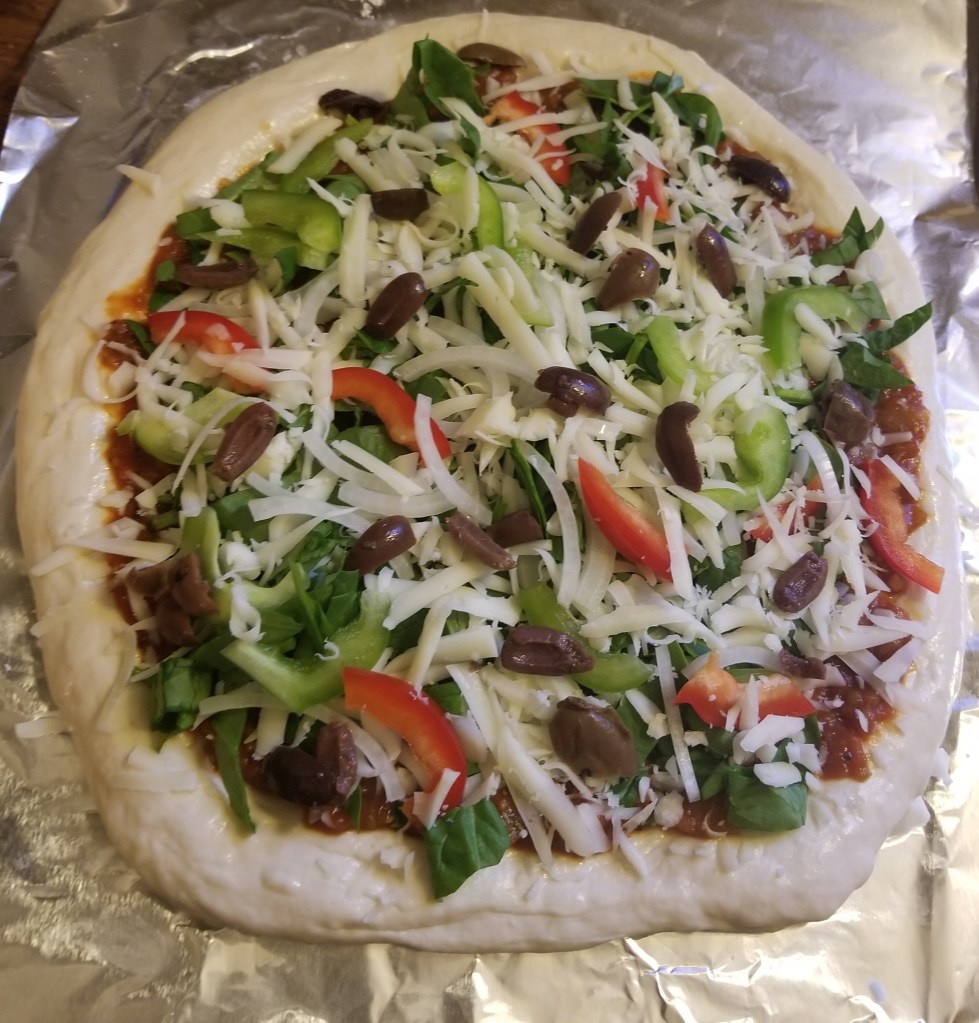
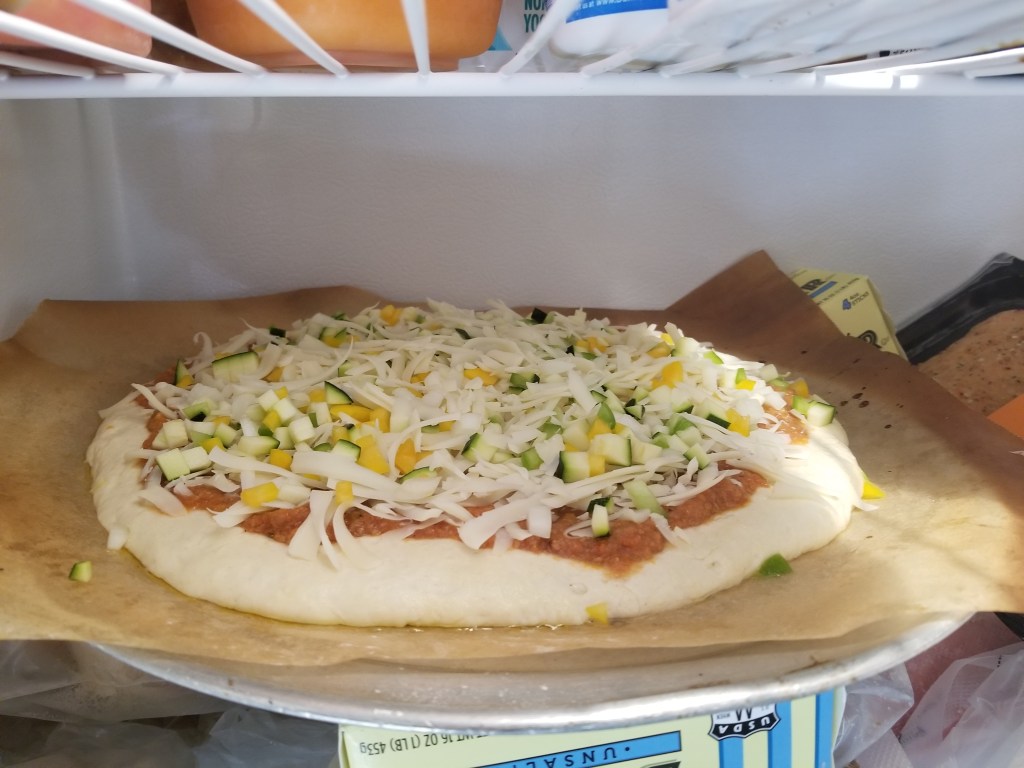
Stretched and topped, I allowed the pizza to freeze open for a few hours before wrapping tightly in aluminum foil.
There are no photos of this pizza baked, likely because the product was more than underwhelming. A requirement of Alton’s recipe it allowing the dough to come fully to room temperature before baking. Attempting to cook this crust from frozen was very disappointing. Not only did it hardly rise, but it never browned. The next time, I will try freezing a dough ball and allowing it to thaw before topping and baking.
Overall, this is a recipe I will attempt again, troubleshooting with the hindsight I now have.

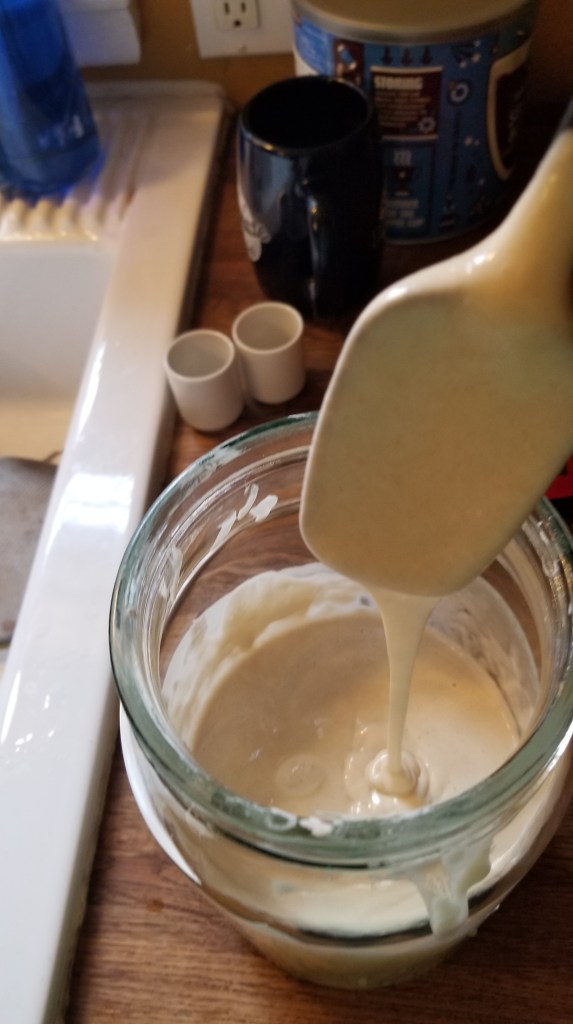
Please allow me to introduce sourdough starter #2. She is doing much better than her predecessor. But as we can only eat so many english muffins, it was her turn to take part in the pizza escapades. I chose this recipe from Alexandra’s kitchen based on many of the same criteria as before. It has excellent reviews, measures ingredients, discusses hydration percentage, and even has a video highlighting the crucial steps of the recipe. What could go wrong?!

If I thought Alton’s crust was a goopy, miserable mess… this was so, so much worse. When working with it after the initial rise, I thought about giving up baking forever. I even decreased the hydration percentage as I could tell from the pictures that my starter, at a 1:1 ratio, is much wetter than hers. Strands of gluten never formed for me. Instead of nice bubbles in the dough that bake into a chewy, light crumb… I had webs. The dough fell apart while I attempted to shape it. It was thin, and barely rose during baking.
There are many places this recipe may have gone wrong for me. A huge impediment is my oven. The recipe calls for 550°F, whereas mine barely makes it to 500°F. Clearly I needed to bulk up the dough with much more flour than the recipe called for. Another fault, I left the dough to rise too long. It more than tripled in volume, which likely caused the final product to be so flat.

Though she was ugly and much more “flatbread” like than pizza, we still devoured the whole thing. While not the “pizza” I was hoping for, it did taste good!
This recipe does not specify how much pizza it makes, but calls for dividing the dough into 4 portions. I only had 3 containers of the correct size, so I made three dough balls. Pictured above is one, roughly a 10″ pizza. At this exact moment, I have combined the other two and am allowing them to come to room temperature while I decide whether I am going to bake or freeze it.
All in all, both recipes produced a better product than what I’ve been eating for the last decade and I am excited moving forward to play with both of them a little bit.
Fast forward 20 minutes… I chose to freeze it.
Have you tried either of these recipes? Do you have a go-to pizza crust recipe that you want to share so I don’t drive us all crazy trying to perfect these?