Before getting into the nitty gritty, I’d like to take this moment for a small public service announcement to remind y’all that you can eat legumes, greens, and whole grains any day of the year, not just January 1st. Protein, fiber, calcium, iron, and a whole swathe of other vitamins and minerals are needed daily!

We found this cast iron pan (among many other “treasures”) in the garage on our property. A garage that had fallen way into disrepair during the 6+ years the home was vacant. After four months, we have finally gone through the majority of [mostly trash] that was left to us in the massive structure. However, a few useful things were spared by looters, such as this cast iron wedge pan! When we found it, not only had it grown a nice, thick layer of crunchy rust, but it was also full of all sorts of other garage-nature detritus. I don’t have a photo of the crusty, fuzzy mess that it started out as, but as you can see below after the first round of half an hour of steel wool scrubbing, there was a lot of work left to go.
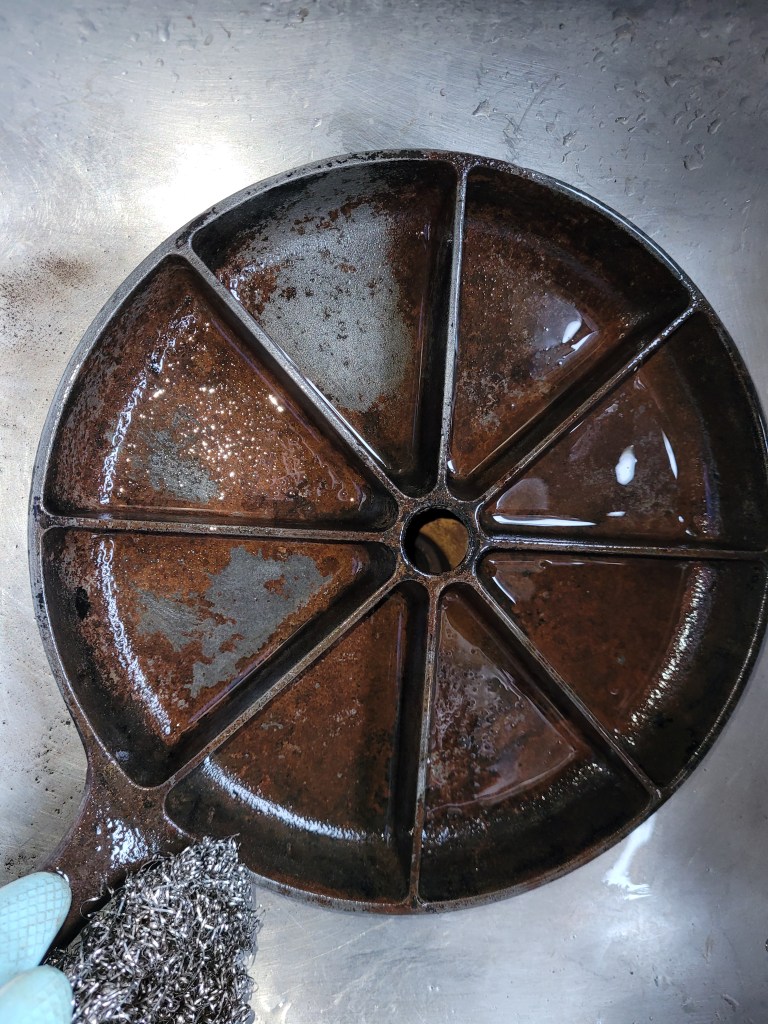

There is a ton of information about the “best” way to restore and clean a cast iron pan. I lay no claim that proclamation, and only serve to illustrate what worked for me. This took a few days, and many hours, to get the pan back down to the original iron. The most useful thing I came across was to soak the cast iron pan in a 1:1 white vinegar and water solution.

This was one of the coolest and most disgusting things I’ve ever done in our kitchen! I am not a fan of vinegar, so the smell is especially strong to me, then combine that with acrid, bubbling iron oxide… whew. But look at that chemical reaction GO. I alternated overnight soaking then scrubbing twice. Below is the result after the first night of soaking, followed by an hour of scrubbing.
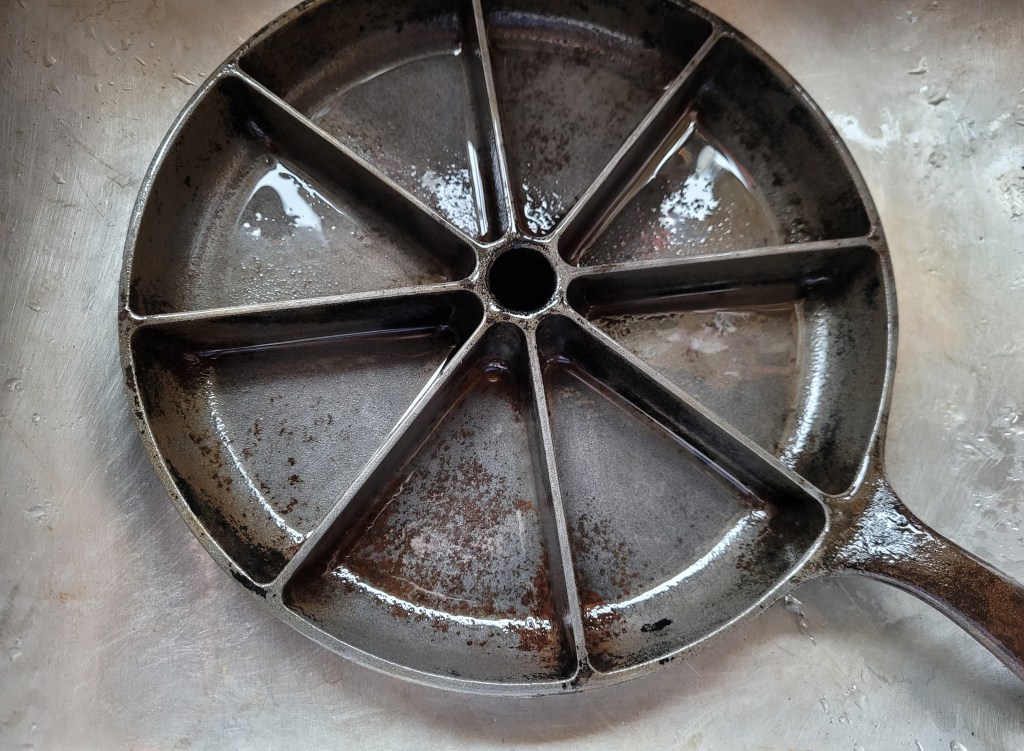
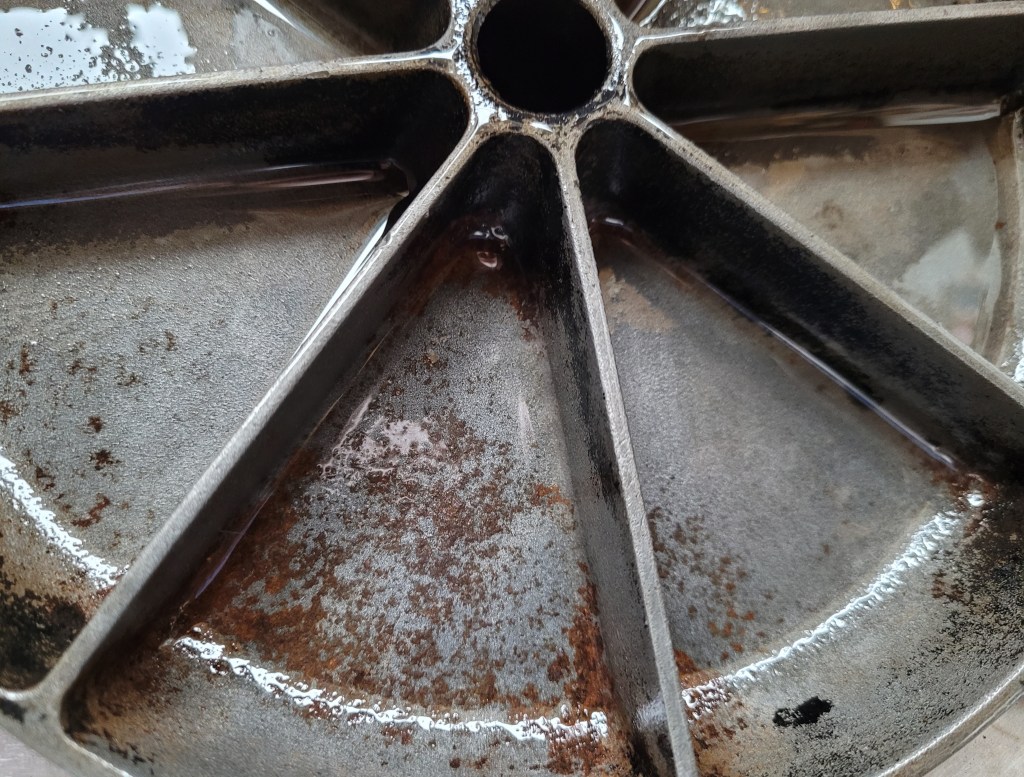
Still a bunch of rust left, but enough clear areas to fuel my hope that this was a surmountable task that was probably worth the undertaking. Another night of soaking (in the same 1:1 vinegar and water solution) and another morning of scrubbing yielded:
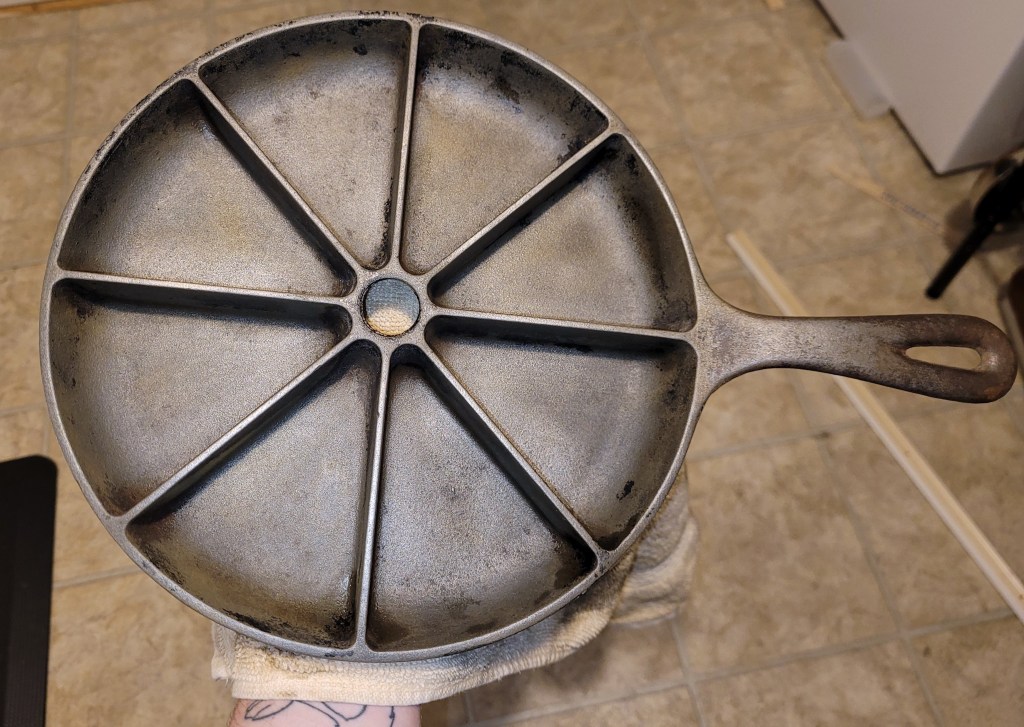
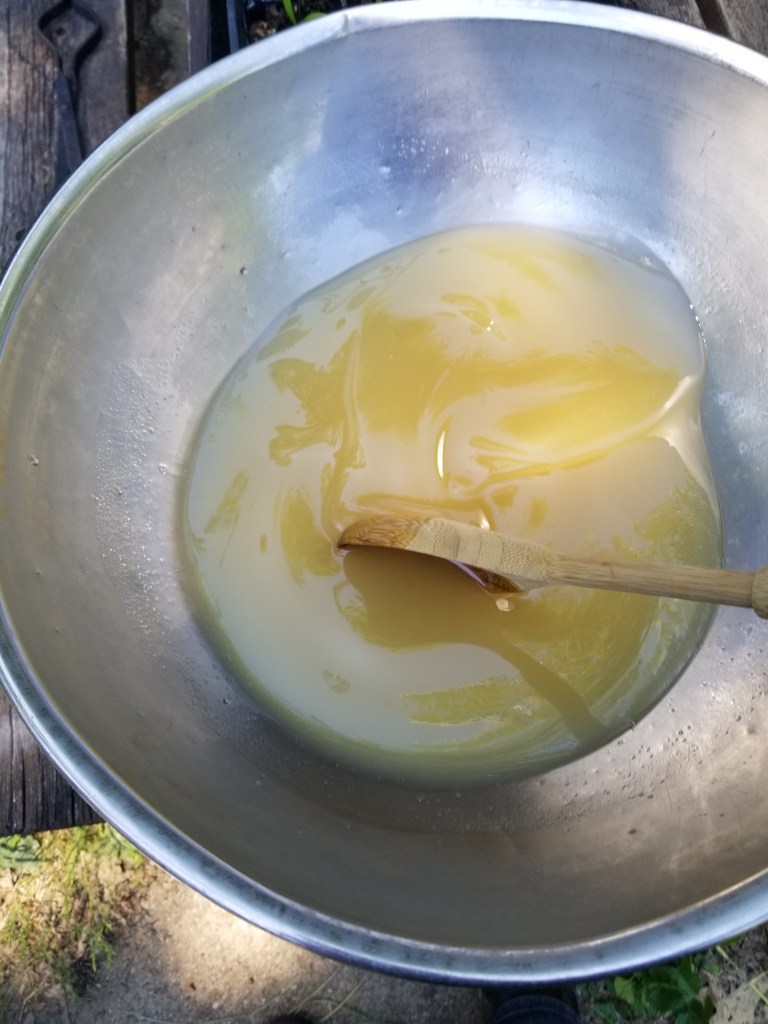
So nice! I scrubbed the last bit of rust off the handle before starting to season. A well seasoned cast iron skillet is one of the most versatile kitchen tools. My dad likes to brag that he can boil water and cook pasta in his with no ill effects to the nonstick surface. However, how to season a cast iron skillet is definitely a polarizing point of contention. I consulted a few different sources and decided to combine tactics. Oven to 400°F, one rack in the middle and one on the lowest setting with a sheet of tinfoil to catch any drips. The highest smoke point neutral oil I typically have on hand is canola, so canola I used.
Speaking from experience of poorly seasoning cast iron pans many times, I can say with certainty that the most important thing you can do is make sure your layer of oil is as thin as possible. If you touch the oiled skillet with your hands and it either feels greasy or leaves a shine on your skin there is too much oil. Even when you think you have wiped away every possible speck of oil, wipe a few more time using either a new towel or paper towel each time.
When you are satisfied you can’t get any more oil off, place the skillet directly on the middle rack upside down. Set a time for one hour and walk away. After the hour is up, turn off the oven and walk away again until the oven and pan have cooled down to room temperature (many hours). Then repeat this process at least twice (my recommendation) before using.
Pictured below is second oiling after first seasoning. See those pools of shiny oil in the corners? That shows that more oil needs to be wiped off.

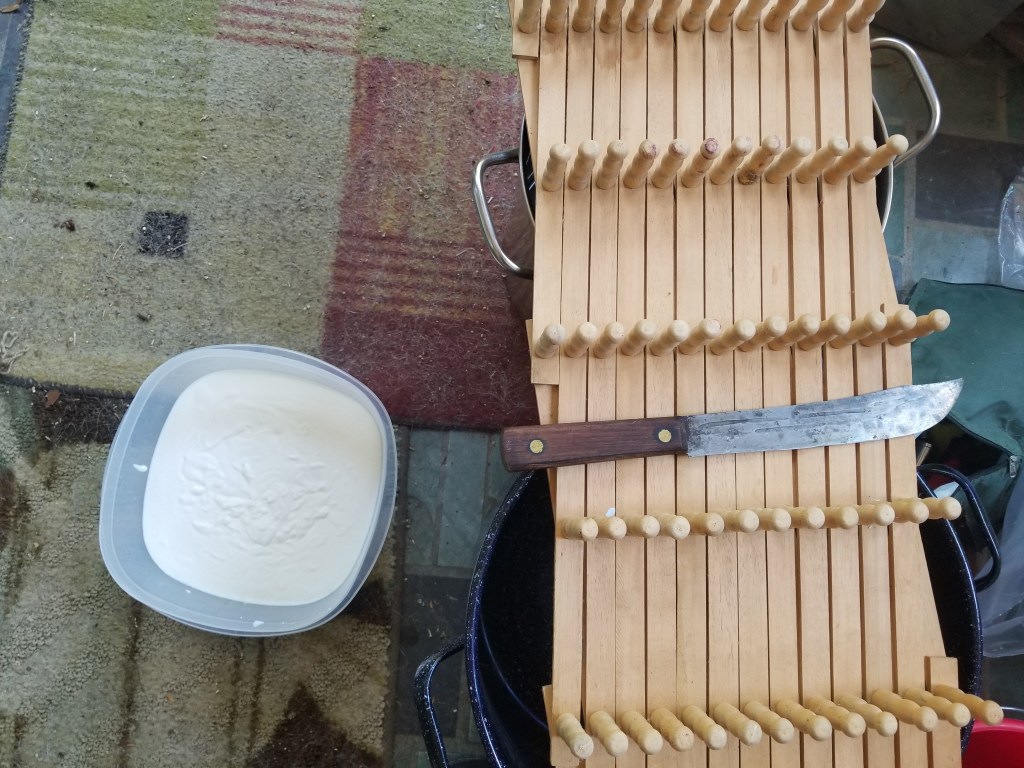
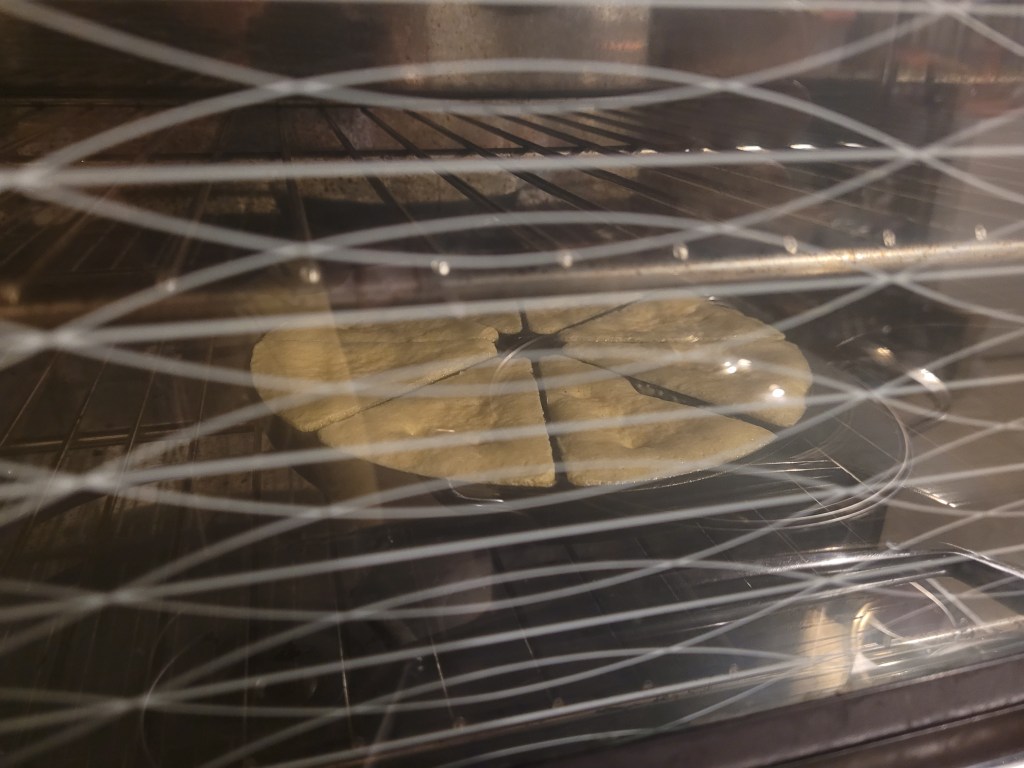
When you do use your newly seasoned pan for the first time, be sure to use copious amounts of grease–butter, oil, lard–and continue to do so when cooking for the first dozen or so uses. This will continue to add to the layers of seasoning. Some random site on the internet said cornbread was a good first food to cook in a newly seasoned pan which was perfect confirmation bias as that was exactly what I had planned to do.

And oh my stars it worked. It actually, really worked!
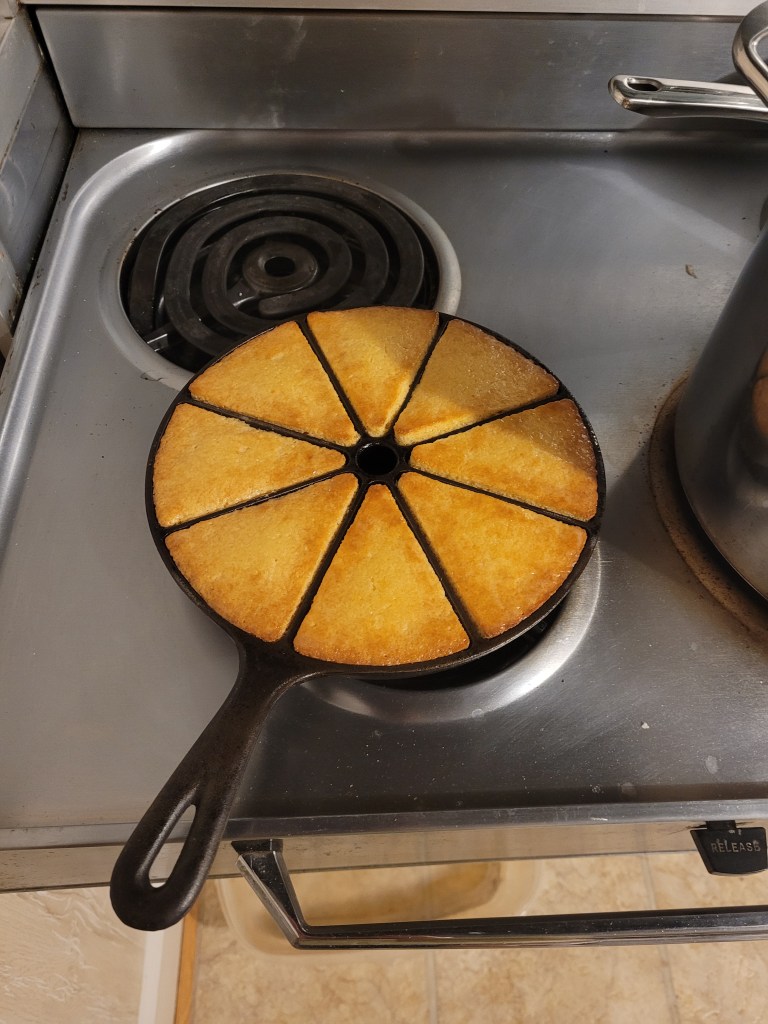

Hopefully I’ve inspired you to tackle your own sort of strange behemoth undertaking. If you do, I’d love to hear about it! The wedge pan seems a ridiculous invention, and next up I think I’m going to try scones or frittata slices. Any suggestions for other foods you think would be nice to eat in a triangle shape?
And If you’re wondering why this post doesn’t contain any sort of recipe to eat, drink, or both, that’s because we are a diehard Jiffy mix family. Mix, bake, butter the warm top, enjoy.