Dolmas, or the best food I’ve made this year

Dolmas – stuffed grape leaves – are surprisingly uncomplicated to make at home. Outside of “traditional” seasonings, the ingredients are straightforward and you likely have at least some of them at home. The critical ingredient, of course, is the grape leaves.

Sometimes the seasons and my food cravings line up perfectly. The best time of year here to harvest grape leaves is late spring to early summer.

If you are foraging for grape leaves, the most important thing to note is that there are inedible, dangerous look-alikes. True grape vines have two distinct features that you can use to correctly identify them: 1. they make grapes and/or 2. the have soft, green tendrils. If you have any doubts, check with a local foraging expert.

When picking leaves, you want to search for those near the end of vines as they are younger and will be more tender. For ease of stuffing and rolling, you want leaves that are roughly the size of your opened hand, 5-6″ in diameter. Smaller leaves are fine, know that they will be more difficult to work with and make smaller rolls. Use scissors or your thumb nail and forefinger to pinch off the leaf right at its base. You do not want any stem remaining.*

I used this foraging site as a guide for picking, blanching, and marinating with only a few slight changes. As recommended, I picked 32 leaves. A few more would fit in the marinade (see below), but I recommend doubling the whole lot.

Directions:

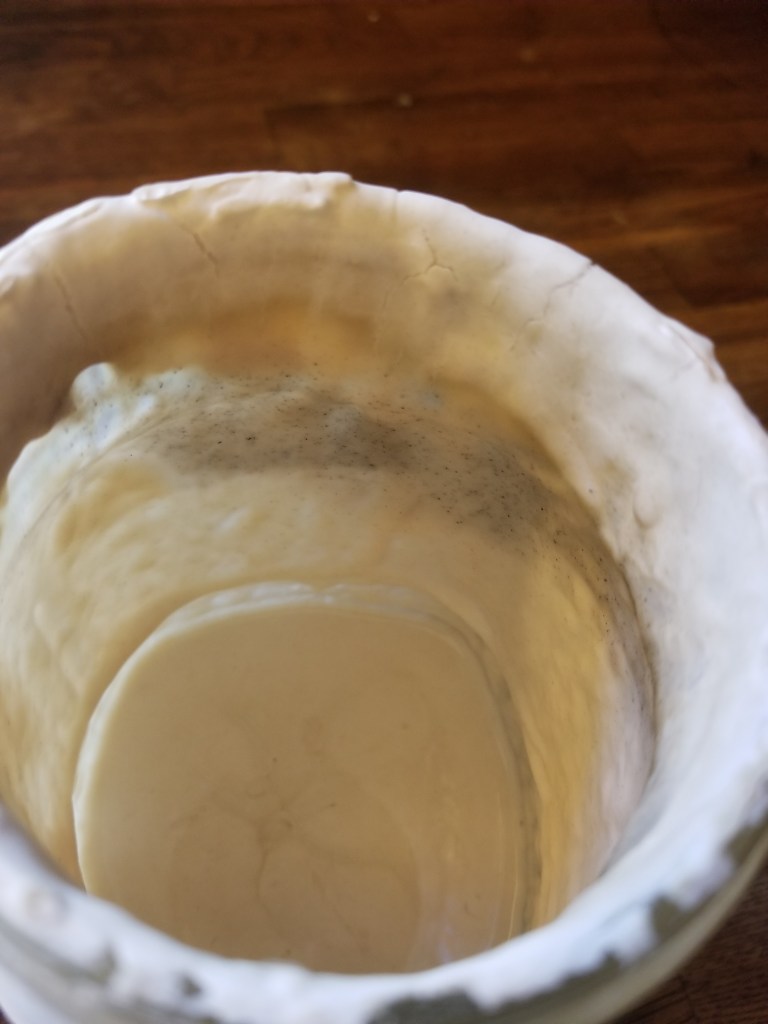
  1. Rinse leaves to remove and debris and blanch in a large pot of water (roughly 8 cups), with a 1/4 cup white vinegar and 2 tbsp kosher salt. Blanch, stirring frequently for 5-10 minutes. Stirring will seem scary. Surely these leaves must be delicate, they feel delicate! Hint: they are not so delicate.
  2. Once tender, drain the leaves. Once cooled slightly, I squeezed each leaf to remove the excess water.
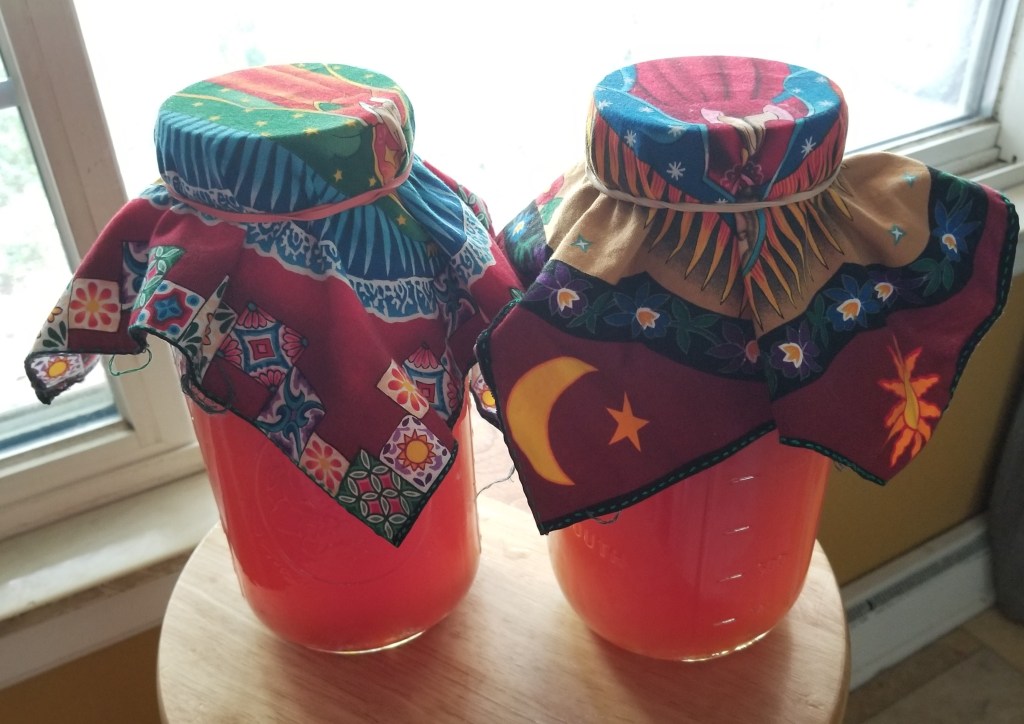
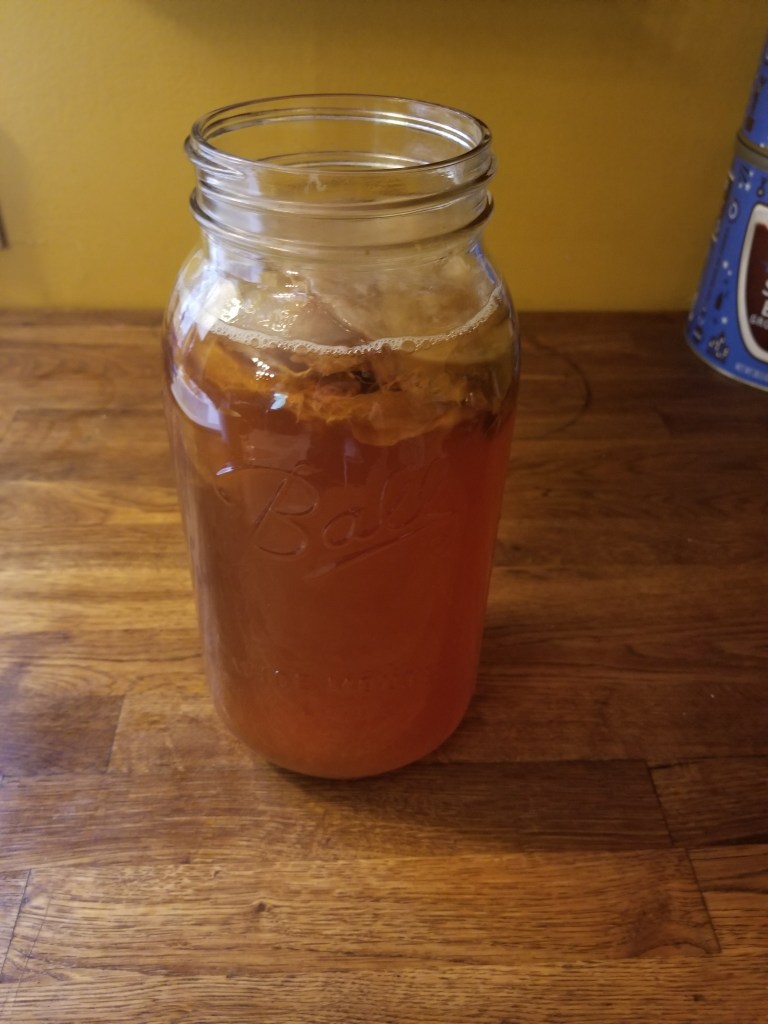
  3. To marinate: combine 1 c white vinegar with 1/2 c canola oil, 1/2 c olive oil, and 1.5 tsp kosher or sea salt. Marinate for 20 minutes up to two weeks in the fridge. Do NOT use an airtight container. I used a wide mouth mason jar with the lid loosely on. All leaves should be covered, I used a chopstick to poke them down and remove any air bubbles. Again, they are not as delicate as they seem.

I am a bit of a glutton for punishment and like to physically make as much of a recipe as I can. To this end, I sought out a recipe for Bahārāt seasoning to use when cooking the lamb for my filling.

In a mortar and pestle or spice mill/coffee grinder, working in batches, combine:

  • 2 tbsp black peppercorns
  • 2 tbsp coriander seeds
  • 1 tbsp allspice berries
  • 1 tsp cardamom seeds (from about 1.5 tbsp pods)
  • 1/2 tsp cloves

Once pulverized to a mostly fine powder (some larger chunks are acceptable, especially if crushing by hand), add:

  • 2 tbsp ground sweet paprika
  • 1.5 tbsp ground cumin
  • 1 tbsp ground cinnamon
  • 1/2 tsp ground mace (substitute nutmeg if needed)

Granted, my seasonings are old, but for 1/2 lb of meat, I used roughly half of this seasoning. It was worth it. Currently, my town is all but out of lamb and I thought that would be the end of it for this recipe. No ground lamb (except frozen, from Meijer, from Australia) and everything was ruined. But I really, really wanted to eat stuffed grape leaves. They were picked. And blanched. And marinated. And I had made the Bahārāt. And cooked the rice. And added dried currants. And caramelized the onions. I chose to use ground beef instead and while it wasn’t perfect, they were so good they brought tears to my eyes.

I can be weird about vinegar and there is a lot in the marinade. I tried both squeezing the marinade off the leaves and rinsing them. Both were delicious, so I went with the easier, though greasier squeezing method; wringing out each leaf before laying out to fill.

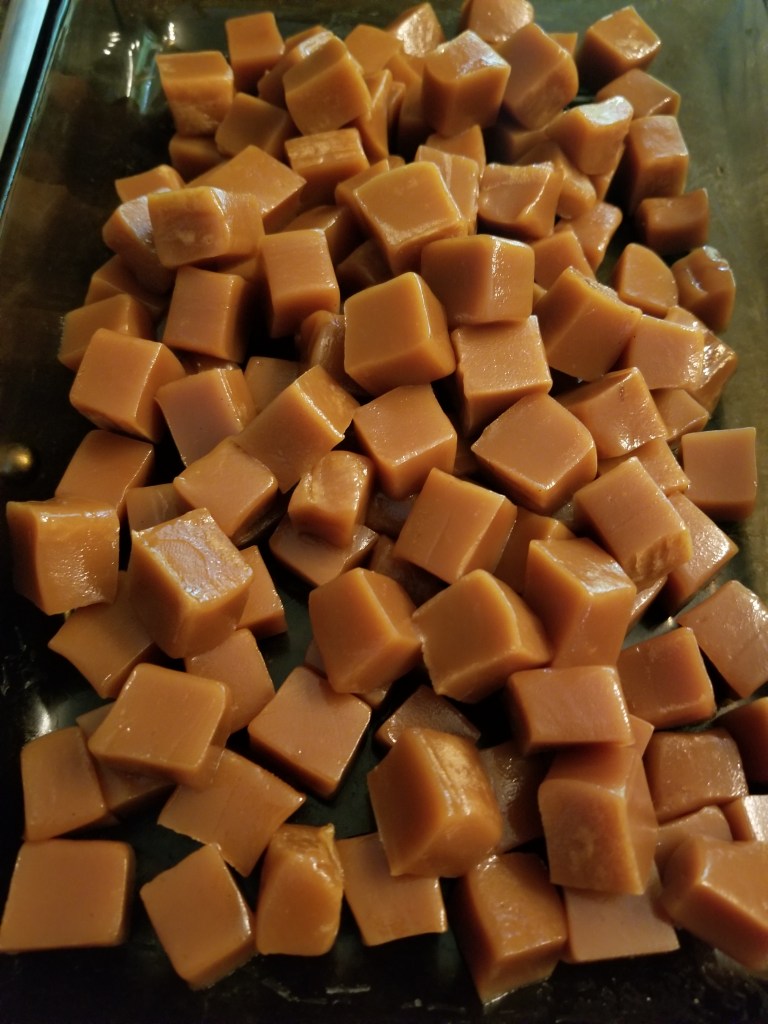
Look at how beautiful! You plop a heaping tablespoon of filling near the stem, fold in both sides and roll from stem to tip. Repeat, repeat, repeat and try not to eat the whole batch in one go. My only regret is that I did not make enough filling and had about 10 leaves leftover. That also means I had to run out to the backyard after the rain this morning and pick more grape leaves! No sense in making less than a full batch next time.

While this escapade may have taken multiple hours over many days, it was absolutely worth it. And the next time, when I make more, I am going to wrap them tightly and freeze them for another rainy day.

*On my first go, I took this to mean **absolutely no stem** and used my sharpest paring knife to slim down (like with cabbage for rolls) and nip off the inner most part of the stem. This was a mistake. My leaves all tore at this point and it was unnecessarily cumbersome.

Growing

While every day is a celebration, passing the Registration Examination for Dietitians was a cause for cake.

Quinoa carrot cake with currants and maple cream cheese frosting, to be exact. Surely studying for four hours a day for over a month deserves it’s own reward.

This is the second time I’ve made this cake and it was easily devoured by the two of us in a week. I’ve had the quinoa flour on hand for well over five years (please don’t keep flour as long as I do) and am so impressed with how well this turned out. I chose this recipe based solely on the fact that I had every single ingredient on hand and I’ve been enjoying using up the weird ingredients I’ve accumulated over the years.

Lightly adapted from Quinoa Cuisine by Jessica Harlan & Kelley Sparwasser:

  • 2 c quinoa flour
  • 1 c packed dark brown sugar
  • 2 tsp baking powder
  • 1/4 tsp iodized salt
  • 3 large eggs
  • 1 c unsweetened applesauce
  • 1/4 c canola oil
  • 1 tbsp vanilla extract
  • 3 c grated carrots
  • 3/4 c dried currants

Preheat oven to 350°F and grease your cake pan (two 8″ rounds if you have them, I used a metal 9″ x 13″). Mix dry ingredients together and set aside. In a stand mixer or with hand beaters, beat the eggs on medium for two minutes. Turn the mixer to low and add the applesauce, canola oil, and vanilla extract until combined, then add the carrots. Incrementally add the dry ingredients until just combined. Turn off the mixer and fold in the currants by hand.

Fill your prepared pan(s) and bang it on the counter ~5 times to settle the batter and remove any air bubbles. Bake 20-25 minutes. Check for doneness by pressing a finger to the center of the cake. It should have a light give and the indent should bounce back. Cool in the pan for twenty minutes, then turn onto a wire rack. Allow to cool completely before frosting. This is the worst part because you will want to eat it right away. For the frosting:

  • 8 oz cream cheese
  • 1 stick unsalted butter, softened
  • 3 c confectioners sugar
  • 2 tbsp maple syrup

While the cake is baking, whisk together the cream cheese and softened butter. To speed up this process, let the cream cheese sit at room temperature while you are combining the ingredients for the cake. Once well combined, add the maple syrup, then the confectioners sugar one cup at time. I recommend tasting after each addition to determine your sweetness preference. Try not to eat it all before the cake cools.

I used applesauce that I canned this winter from a mix of “seconds” from Kapnick Orchards. Dark brown sugar is a personal preference. With more people cooking and baking from scratch, I recommend using iodized salt to prevent iodine deficiency and it’s negative health consequences (goiter). Canola oil contains more omega-3 fatty acids than vegetable oil and will not change the flavor. Though the original recipe calls for it, I don’t peel my carrots–I think it is a waste of time especially in this type of application where you won’t see the carrots.

This cake is a decadent indulgence, but you deserve it. I’ll leave the nutrition facts at the very end so you only have to see them if you want to.

In short news, the garden is strong in growth and I’ll give another tour soon.

I finally graduated to cloth covers for my booch brewing made from fabric my mom bought for me in 2007 that has moved from Chicago to Georgia to Michigan before finally being used 13 years later.

And finally, to round things out: a failure. Not only have I managed to suffocate, then revive my sourdough starter, but now I have killed it with mold. Time to start starting anew.

Growth doesn’t usually take the path we think it should and forward doesn’t look the same from day to day. Sometimes it is best to just choose cake.

Lavender Caramels

This was another long-awaited cooking bucket list item. I’ve wanted to make lavender caramels since 2012. I have a huge bag of dried lavender that I bought off eBay (of all places) to make peach lavender jam last year. The jam has become an annual canning staple, but that is a post for warmer days.

I anticipated a few hours from start to finish, but my expectations were far exceeded. From gathering ingredients to what you see above took over four (active) hours–this is not including the hour I let the caramel cool in the fridge. While the escapade was an eventual success, it is one I will be unlikely to repeat.

I followed this recipe, as suggested in the original article. It does not specify the type of milk, but we are making candy so I assumed whole would be the choice. We only have 2% in the house, but I bulked up the fat content by replacing some of the called for “milk” with extra heavy cream.

I used twice the lavender because I have so much and I did not want to risk losing the flavor due to the age of the dried lavender. I ended up swapping some of the honey for sugar; not by choice, I did not have enough on hand. Were I to ever choose to make caramels again, I would use even less. The final product tastes more like honey caramels than lavender caramels. Not terrible, but defeating in the face of the effort.

As this was my first foray into candy making with my fancy new thermometer, I was fascinated by the process and transformation of the ingredients.

At the onset, the honey is the predominant colorant. I had more lavender milk than I was supposed to begin with, so I spoiled myself with a mini honey-lavender cafe au lait.

Watch what happens as we turn up the heat!

(not really, the caramel is cooked over a relatively low heat for an excruciatingly long time)

While this was the longest part of the process, it was the easiest.

The process above took the most effort. The caramel was completely adhered to the paper and each piece had to been individually pared or peeled. Wrapping was a misery due to the excessive fat content–these adorable cubes were greasy. Very greasy.

But they taste good! And I’ve wanted to make them for eight years. This also afforded me the opportunity to shower my friends with gifts. I danced around the kitchen warbling, “Share what you’ve got!” which has become my new summer anthem.

Four care packages were delivered with various salad greens, herbs (chives, chinese flowering leeks, mint, thyme, parsley, catnip), a bottle of strawberry booch, caramels, and two adopted SCOBYs.

Not only did I get to (socially distanced, masked), visit my neighbor + 3 friends, I came home with:

  • homemade chocolate ice cream
  • sage (for eating and hopefully rooting!)
  • purple basil (for eating and growing!)
  • a pilea peppermide plant

It is important to find success and joy, and remember to share what you’ve got!

Kombucha

For the most part, we drink coffee and water in our household. Maybe a soda or juice every other month or so. Kombucha was included in this “treat” list, an occasional extravagance. That is until a fellow dietetic intern gifted me with a SCOBY. Now I ferment my own “booch” every other week.

SCOBY means “symbiotic culture of bacteria and yeast,” which is formed through the conversion of carbohydrates by of lactic acid bacteria, acetic acid bacteria, and yeast to form acids + alcohol; the magical process known as fermentation.

It’s slimy, a bit lumpy and squishy. Each new batch of booch grows a fully functional colony that can be used to ferment subsequent batches. The new layer forms on top, attached lightly to the one(s) below. My SCOBYs are really large at this point–though only one is need to make more kombucha, it seems almost cruel to toss one away. I brought this living thing into being and now it is my responsibility, or something like that. I’ve tried gifting them, but kombucha is a polarizing, acquired taste.

The process is simple. Brew some sweet tea, add previously brewed booch + SCOBY

  • 1 cup sugar to ~ 1 gallon water (14 cups), 8 black tea bags (roughly 3 tbsp loose leaf tea)
  • Bring water to a boil in a stainless steel pot
  • Remove from heat, add sugar and tea, and allow to cool to room temperature
  • Fill half gallon jars with ~7 cups of sweet tea, add previously brewed booch (adds bacteria cultures, yeast, and lowers the pH), add SCOBY right side up, cover with breathable material and set in a cool, dark place.
  • Smell your booch after 3 days, it should have a sour, vinegar like scent.
  • After 5-7 days, begin taste testing.
  • When you are pleased with the tart-sweet ratio, it’s time to bottle!

Some notes: minimize contact with metal, it can alter the taste and hurt the SCOBY. It was a game changer for me when I realized I could label the glass bottles with permanent marker instead of tape: it scrubs right off! Sometimes I add fruit, or fruit juices such as the strawberry I was gifted in exchange for greens. I cover my booch with two coffee filters and a rubber band, though I want to switch to a washable cotton system.

A book I highly recommend if you are interested in fermentation, from the history to recipes using your own fermented foods is Mary Karlin’s Mastering Fermentation. She provides really excellent, detailed information especially as it relates to food safety and sanitation.

While a lot of research has been and continues to be conducting into the benefits of fermented foods for the gut microbiome, it is important to note a few things:

  • Start slow! If you don’t already consume a lot of fermented foods/beverages, it can be a lot for your bowels to handle at once. Yogurt is usually a good place to start. Even if you are lactose intolerant–the bacteria ferment the lactose into lactic acid, essentially digesting it so you don’t have to.
  • Fermented foods contain live bacteria, I would not recommended home fermented foods for those with compromised immune systems.
  • If it smells or tastes “off”, it likely is. I have let batches ferment too long, or used too much tea, and discarded all but a cup to start the next batch.

I learned a few things the hard way, such as only use tea you actually like to drink! I bought some Irish Breakfast tea from the bulk foods store because it was cheap. I did this even knowing I don’t care for Irish Breakfast tea. What happened? My booch tasted like Irish Breakfast. I’m still using it, though in a much lower ratio.

Bacteria need five things to thrive, represented by the acronym FATTOM: food, acidity, time, temperature, oxygen, and moisture. The food is the added sugar, acidity from the cup of previous booch, time + temperature usually 7-10 days though in the summer in my hot house it can be as quick as 3-5, oxygen – orientation is important: the yeast loving bacteria live on the bottom of the SCOBY while the oxygen loving are on top, and I think moisture is pretty self-evident in this case.

If you made it all the way through this quick overview, here is some additional reading should you be ready to take the plunge to brew your own kombucha or want to learn more about fermented foods and the gut microbiome:

Detailed Kombucha directions

Fermented foods and fiber + microbiome