Leftovers Pot Pie

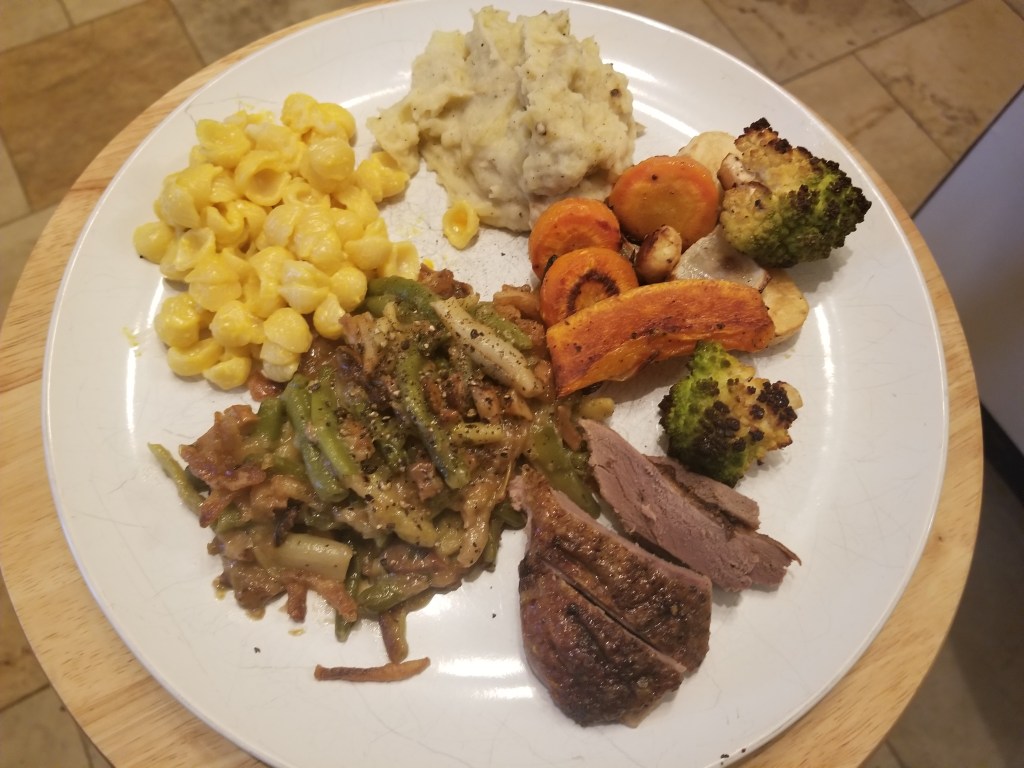
With the end of the big cooking holidays within our grasp, the fridge always begs, “What are you going to do with all this abundance?!” The following recipe works with whatever leftover roasted poultry you have on hand. After Fall Feast, I used the leftover roast duck to make one 9″ pot pie. The leftovers from our Christmas goose made two 9″ pot pies.

The beauty of this recipe lies in its flexibility and efficiency. TLDR: cut one ingredient, add to pot over medium heat, while it cooks cut the next ingredient, add to pot, and so on as by the time you are done cutting and adding all the ingredients, the previous ones will be perfectly cooked.

Goose Pot Pie, serves 8 very generously.

Ingredients:

  • 1 tbsp fat (I used goose fat, but butter or the oil of your choice works fine)
  • 2 large yukon gold potatoes
  • 2 large carrots
  • 2 stalks celery (the pictured ones were sooo tiny, but roughly equated 2 stalks)
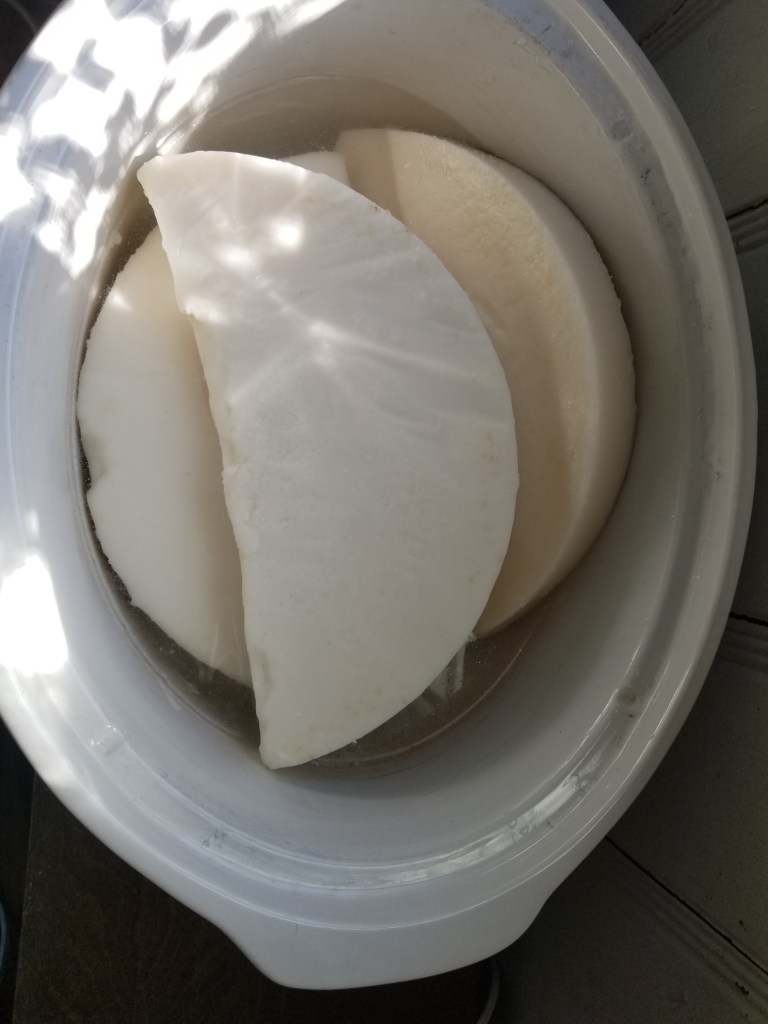
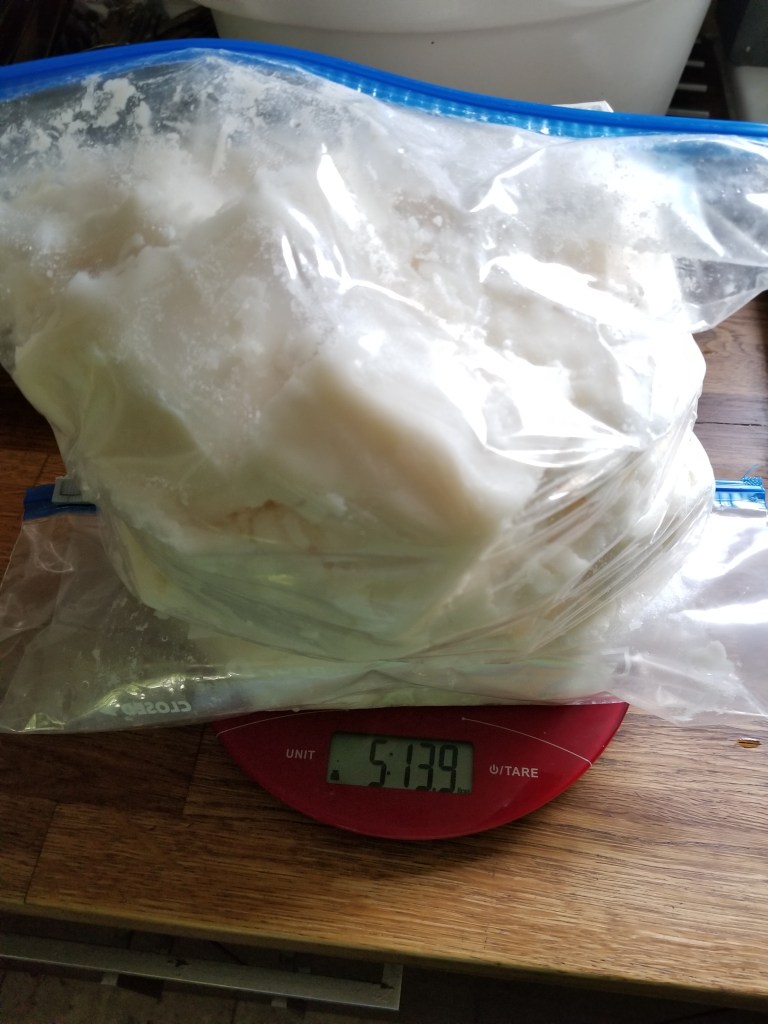
  • 1 cup broth (I used goose broth, surprise, but any broth or even water will do)
  • 1.5 large yellow onions
  • 5 cloves garlic
  • 1-1.5 cups frozen peas
  • roughly 3 cups diced leftover poultry
  • 4 tbsp unsalted butter
  • 5 tbsp all-purpose flour
  • 1 cup whole milk
  • 2 oz mozzarella, shredded
  • 2 oz pepperjack, shredded
  • salt, pepper, and garlic powder to taste
  • store bought or prepared pie crust from your favorite recipe
    • After all the cooking and baking of the last few weeks, the last thing I want to do is make pie crust. My leftover pot pie is always made with store bought crust!

If you are making your own pie crust, do this first. If you are using frozen, you should have thawed it yesterday.

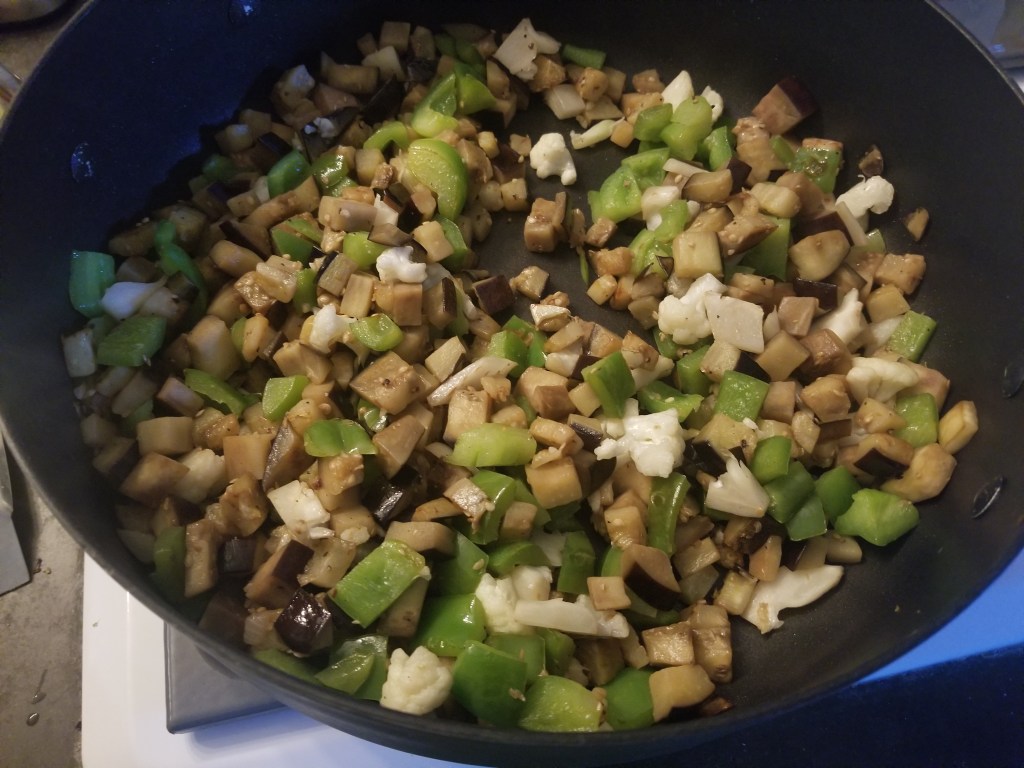
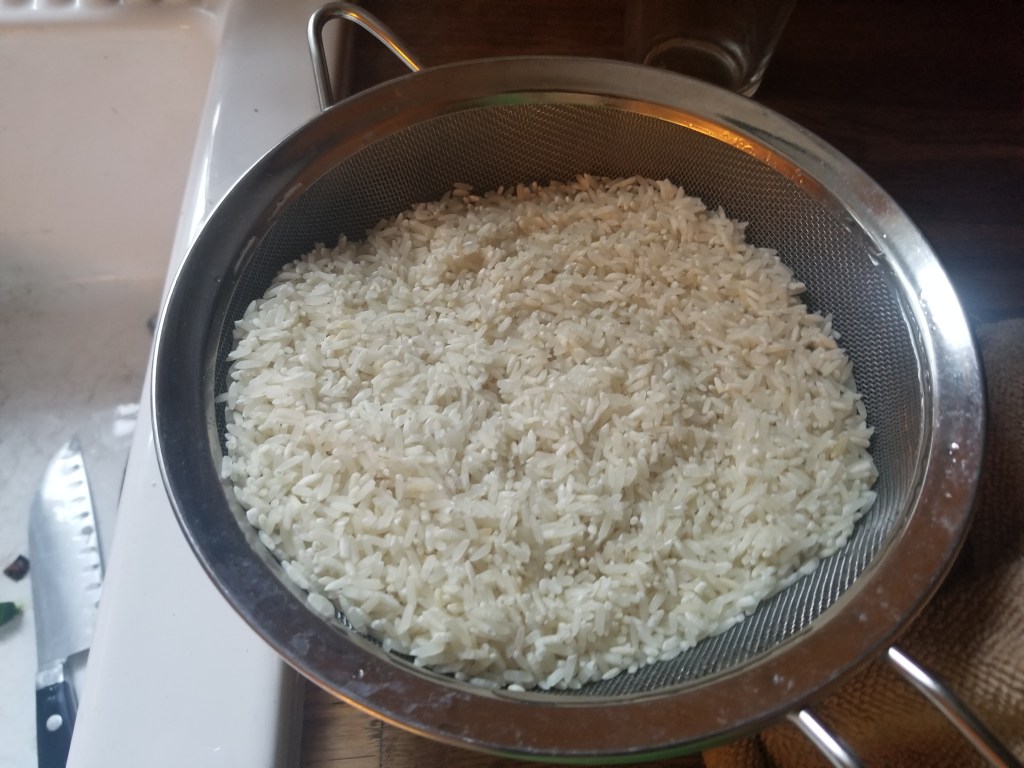
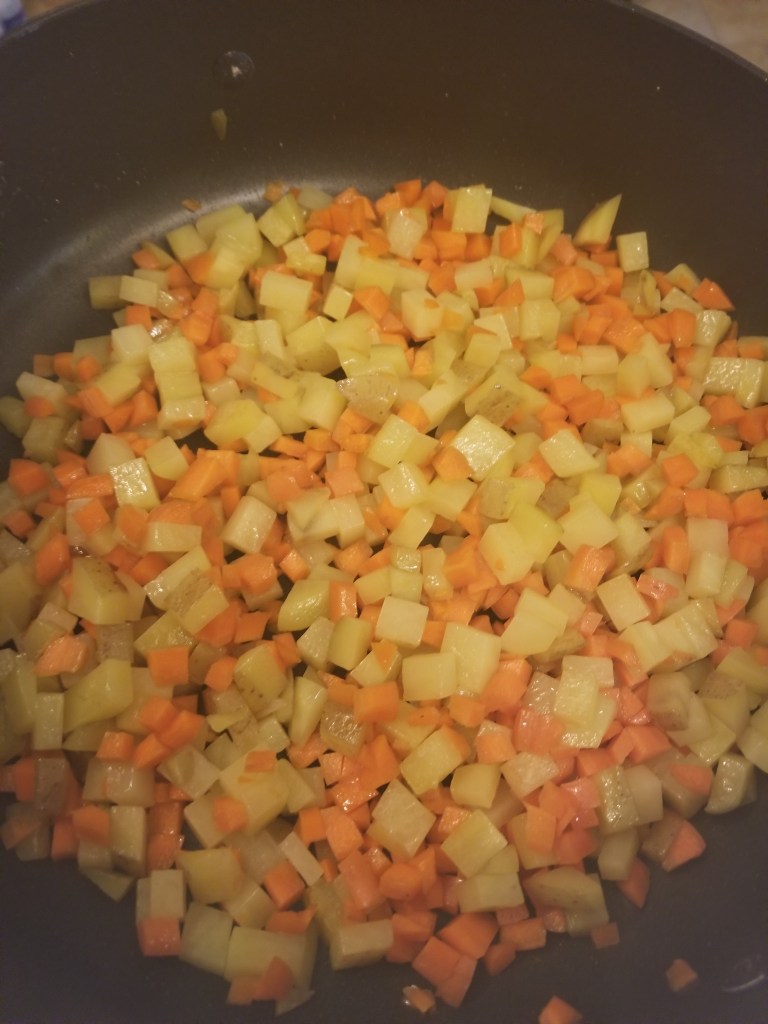
Cut potatoes into ~1/2″ dice. No need to peel. Toss in a really big pan with your 1 tbsp of fat and about a 1/2 tsp of table salt. Turn to medium heat. Remember to stir every once and awhile.

Cut carrots into ~1/4″ dice. Again, no need to peel. Once they are both diced, toss on top of the potatoes. Stir eventually and every once and awhile.

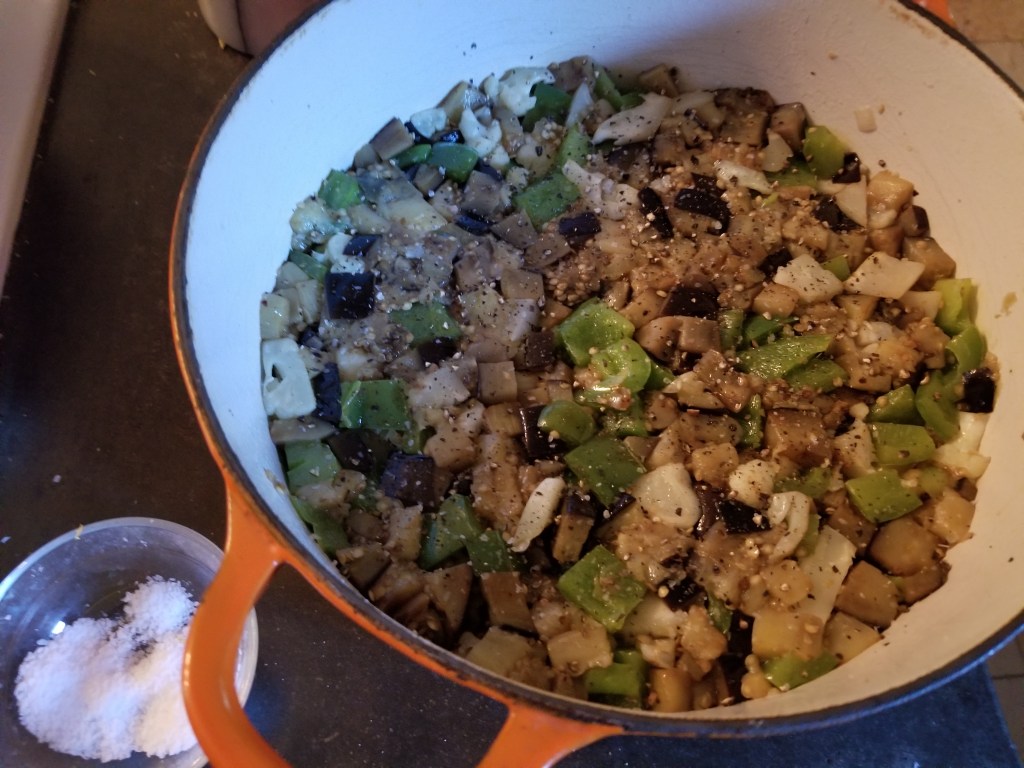
Celery, you guessed it: ~1.4″ dice. Once finished chopping, add to the pan. Stir. Add your broth in two separate additions a few minutes apart, stirring to coat.

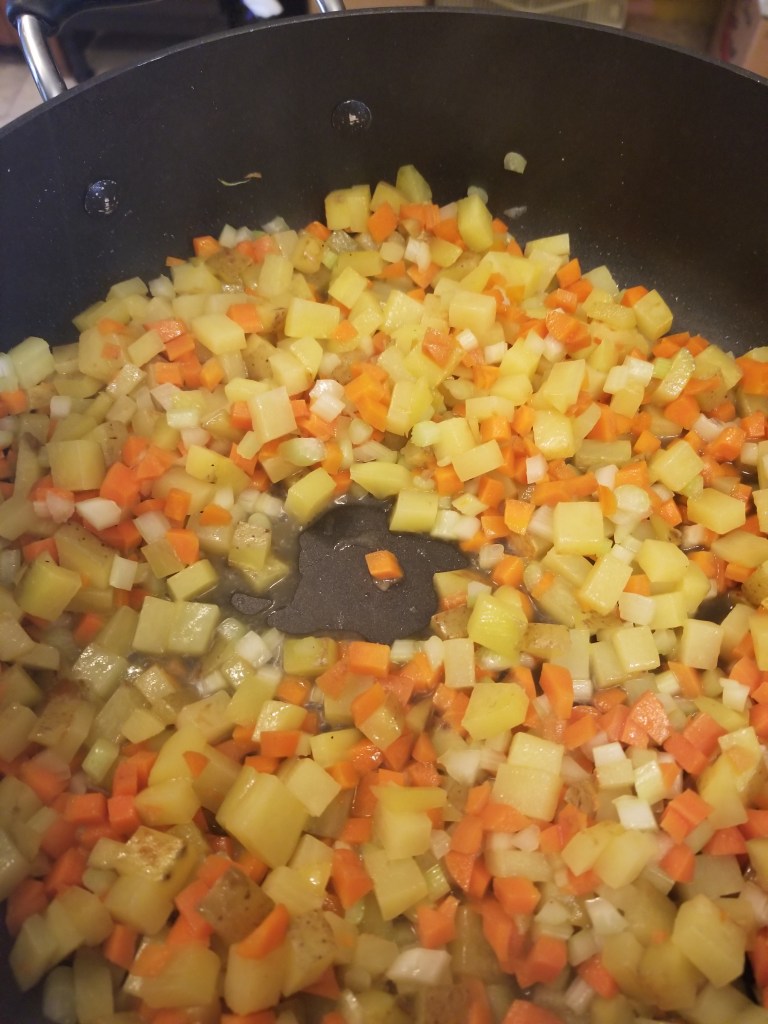
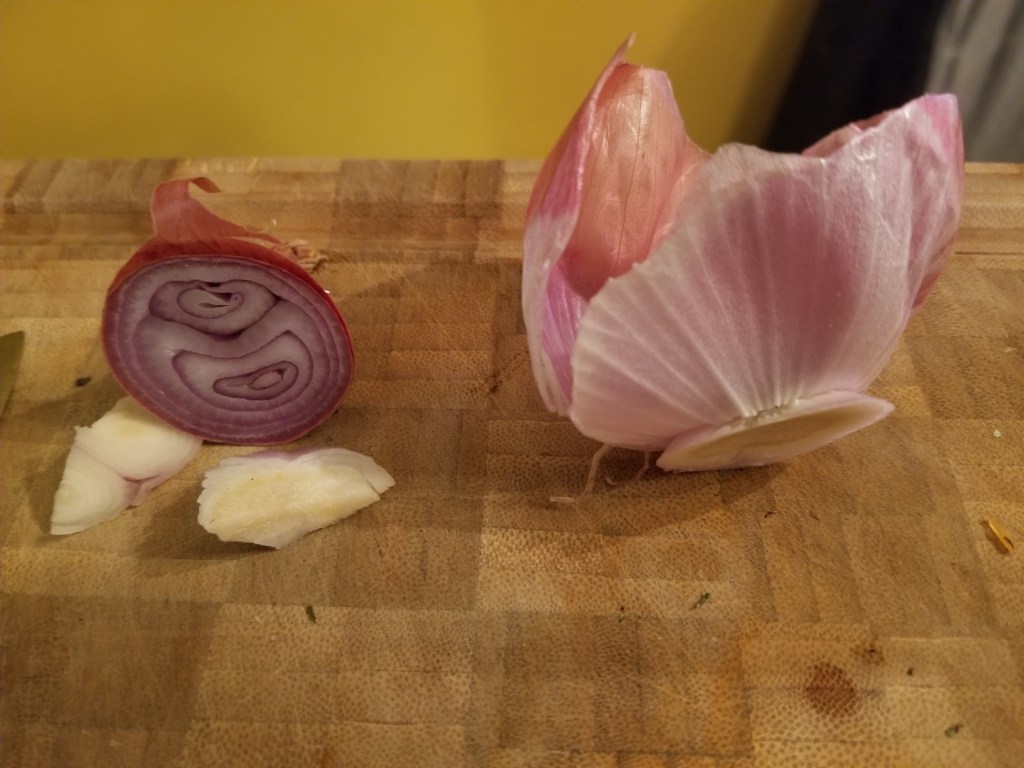
Not to sound like a broken record, but now it’s time to chop up all the onions. You want them roughly the same size as the potatoes, but smaller is great too. Once finished chopping, add to pan and stir.

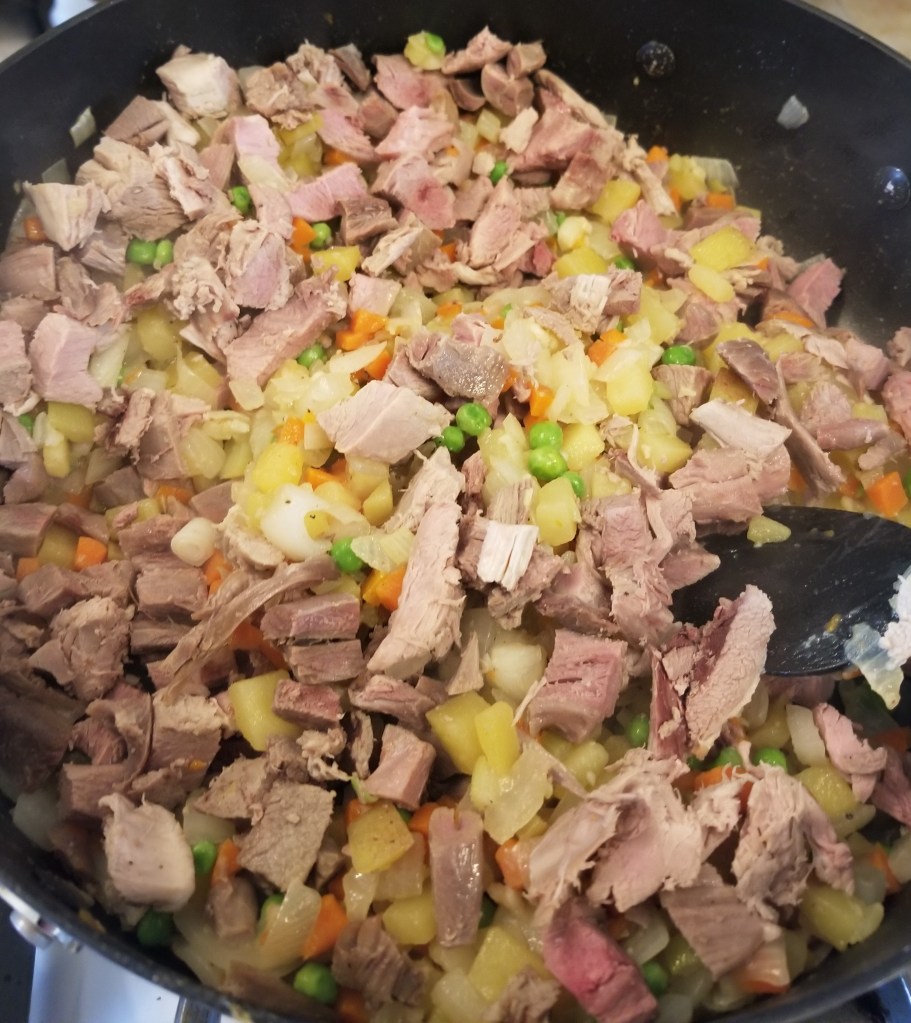
Begin dicing up your poultry. I prefer it on the smaller side, barely larger than the potato chunks, but you do you. Once you’re finished, the onions should be slightly translucent. Toss in the peas and a little more broth if it seems dry. After about five minutes, add the poultry, stir and reduce heat to medium-low.

At this point, I would preheat the over to 400° if you haven’t already.

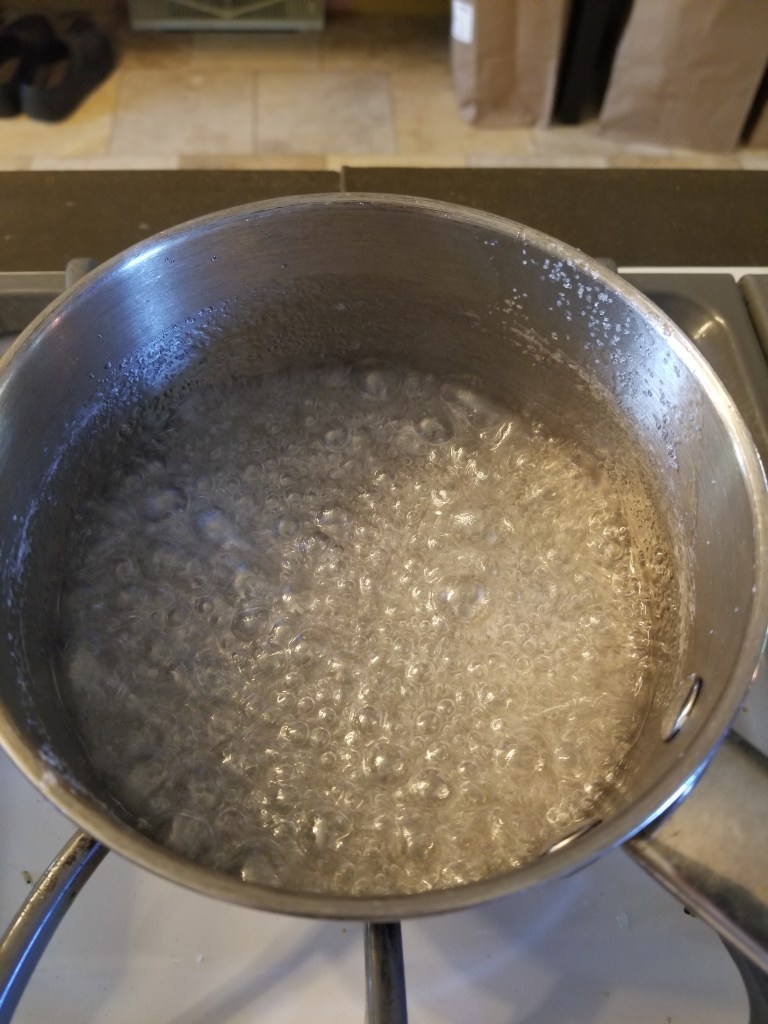
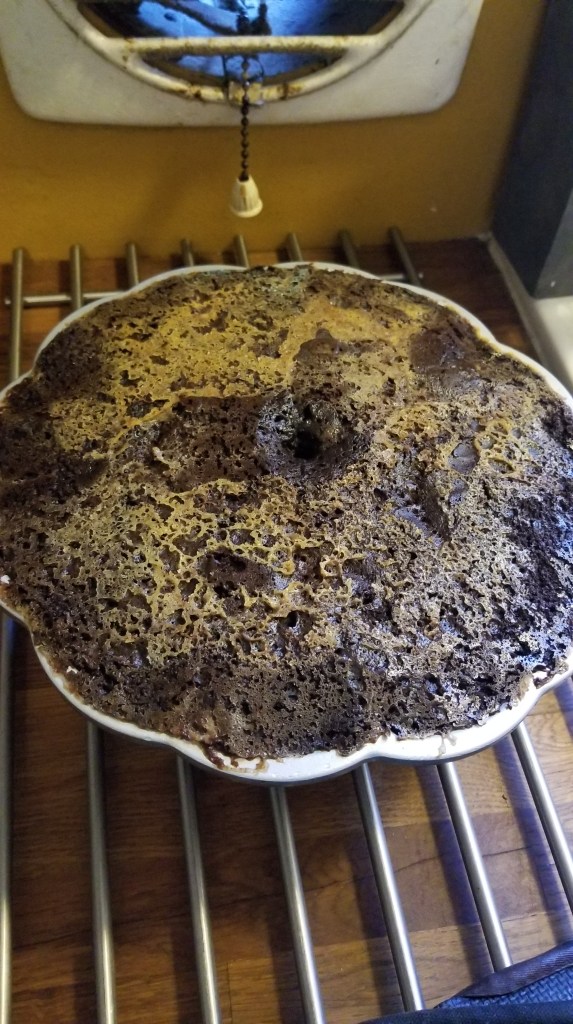
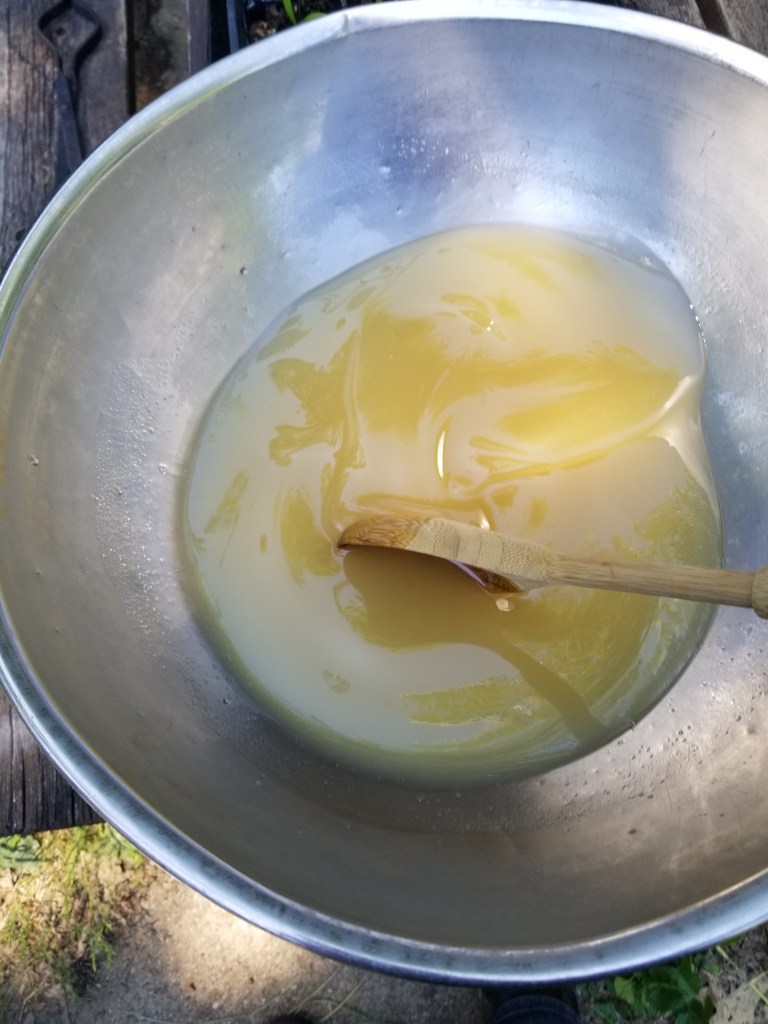
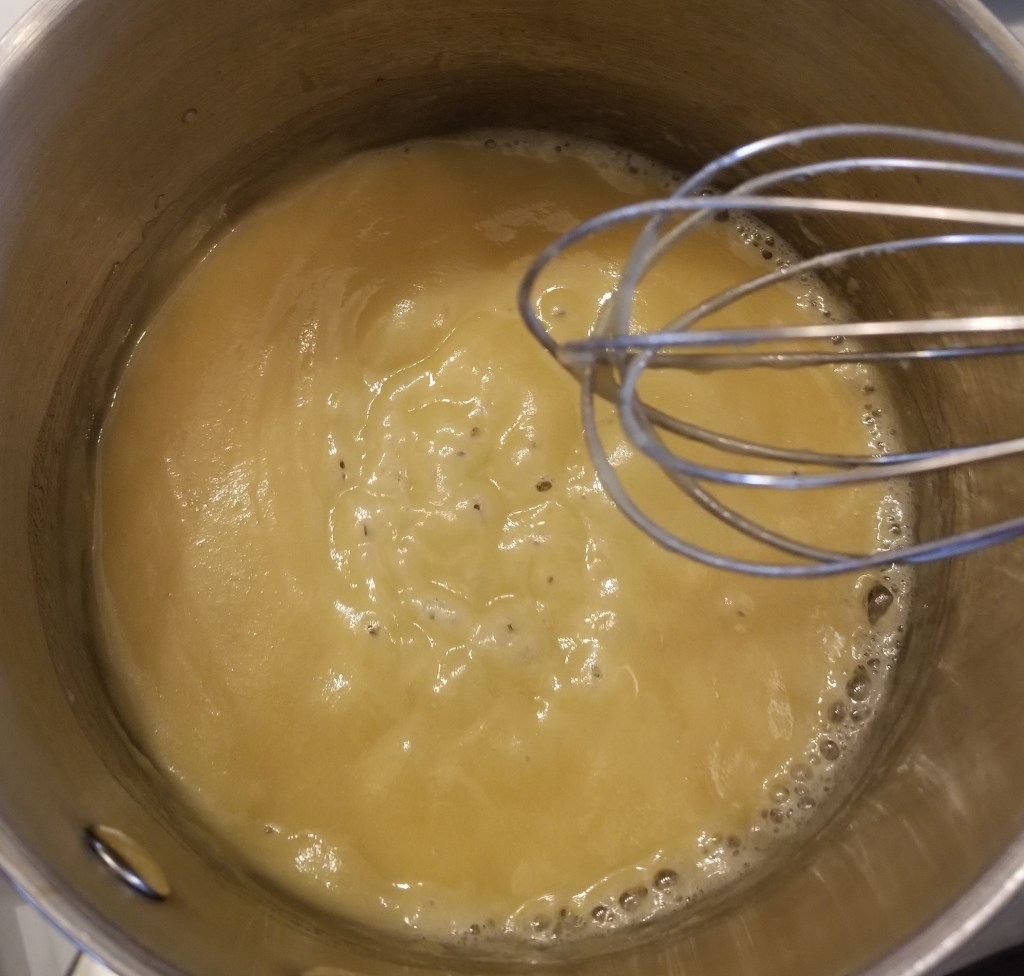
Grab a sauce pan (I love my 2 qt stainless for this task) and plop in 4 tbsp of butter in one chunk. Heat over medium-low heat until melted. Add 5 tbsp all purpose flour and whisk. You may need to reduce the heat, you do not want this to burn. Cook for about 3 minutes. It should look roughly like this:

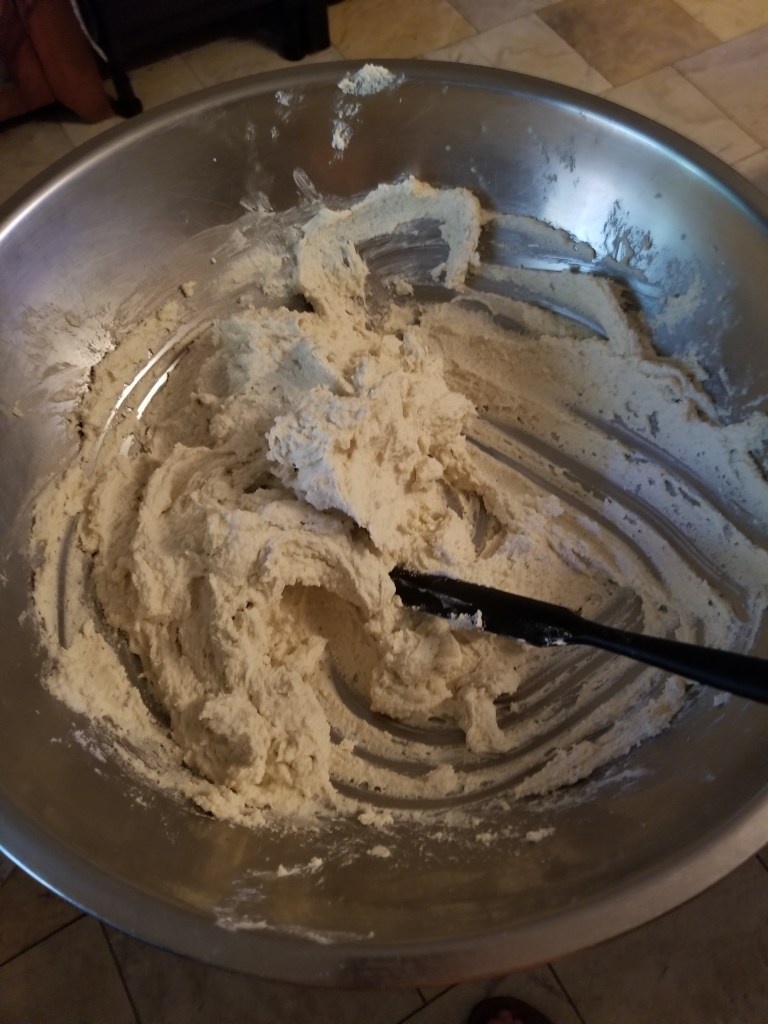
You’re going to add the milk in 3-4 additions, stirring completely until fully incorporated before adding more. At first, you may think you have broken everything, but once all the milk is added you will have a nice, thick sauce. The texture will be something like room temperature cream cheese frosting.

Add the shredded cheese in at least 4 additions, whisking vigorously and non-stop until incorporated. It may get a little lumpy and probably very stringy, which is fine as everything will homogenize upon baking.

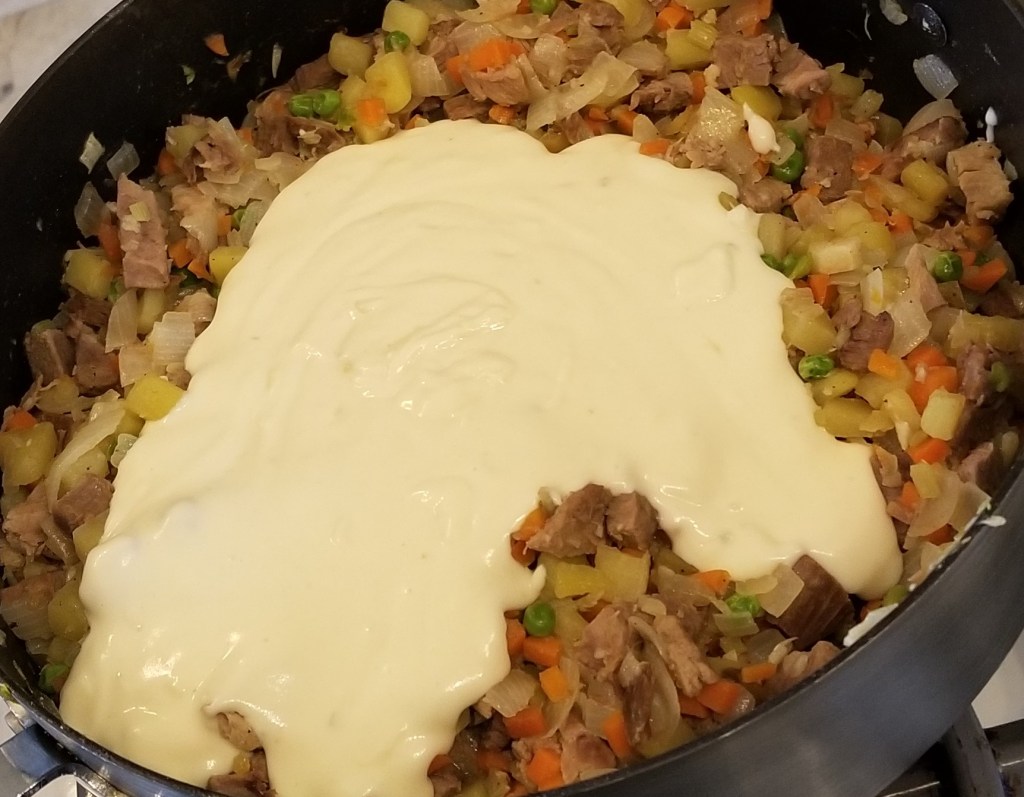
Taste at least 4 large potato pieces. They should be fully cooked. If not, turn the heat up, add a little broth/water as needed and check another potato every few minutes. Once the potatoes are cooked, remove from heat and dump your sauce on top. And stir to coat and combine.

This is your last chance to adjust any seasoning, so grab a big bite! I like to get a piece of each ingredient in one spoonful. I always add salt, pepper, and garlic powder, and usually twice. Keep tasting and adding until you are happy with it.

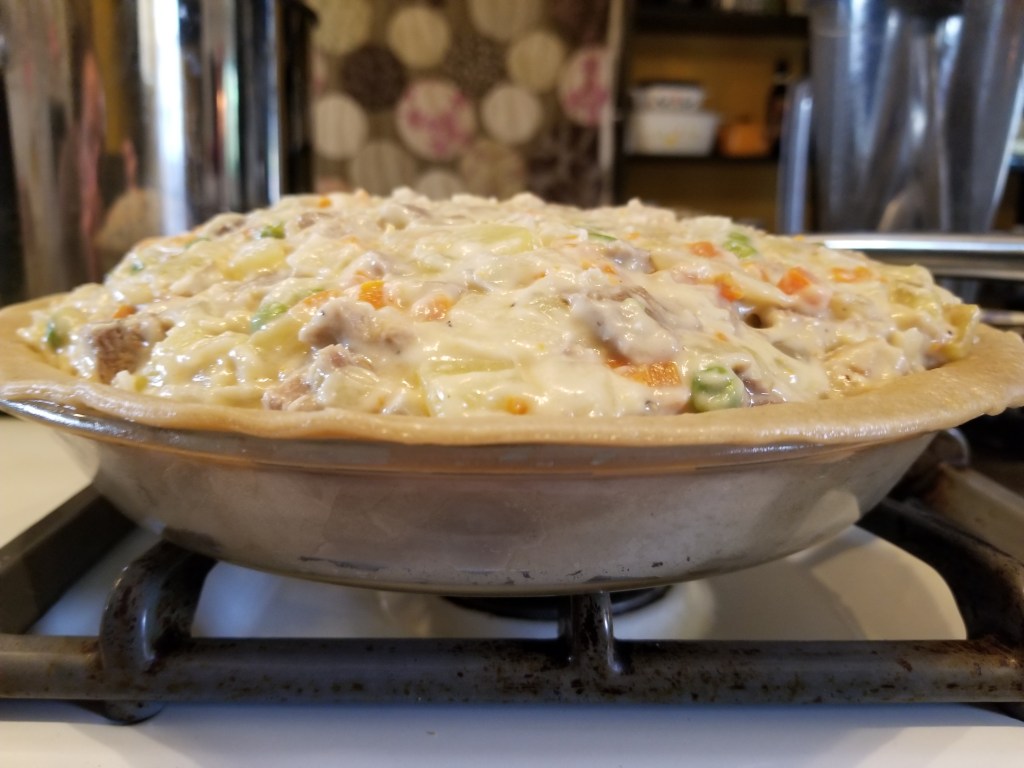
Roll out the pie crust and mold to a 9″ glass pie tin. I only specify glass because that is all I have. I’m sure this would be fine in a metal pie tin. Add your filling. It will be very, very full.

Top with the other circle of pie crust and crimp the edges together. I like to use a fork like it is strawberry rhubarb pie. Cut some slits in the top so steam can escape.

I prefer my pot pie with an egg wash, so shiny! If you do this, do not egg wash the edges. The edges cook too fast and you have to do that annoying thing where you wrap them in aluminum foil so they don’t burn. If you eggwash them, the edges will bake beautifully on to the foil. I promise. Don’t do this.

Bake for roughly 30-45 minutes (check after 20, every oven is different) until the top is lightly browned. Remove the foil. If you chose to do an egg wash, now you can egg wash those edges and bake for another 10-15 minutes.

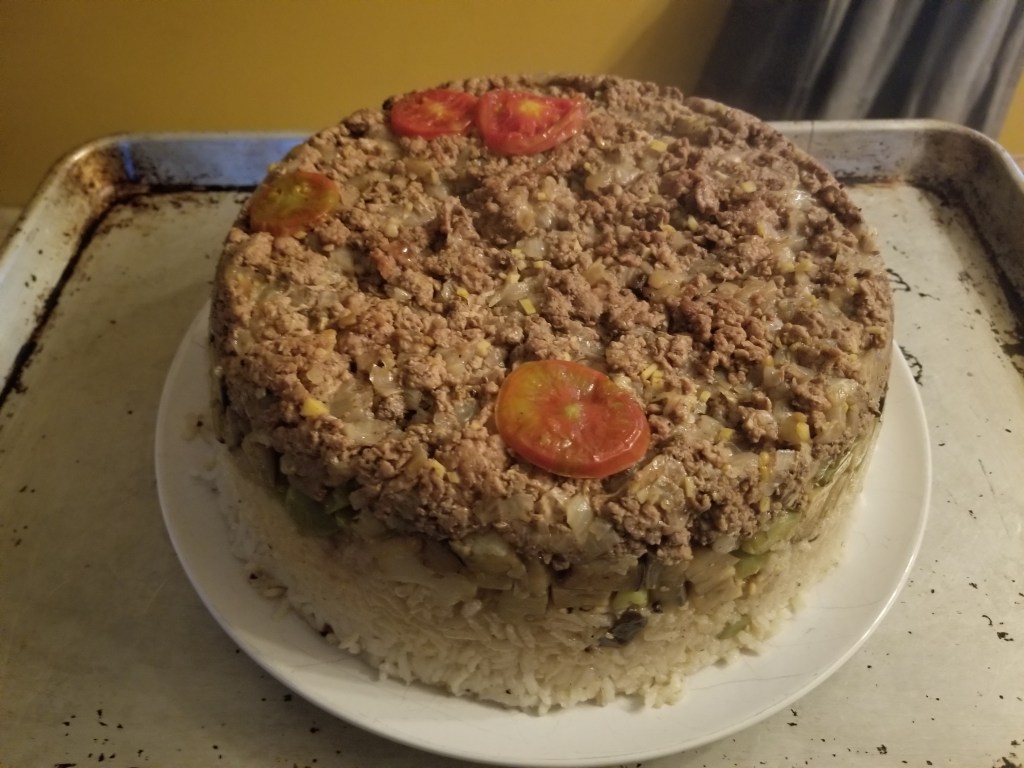
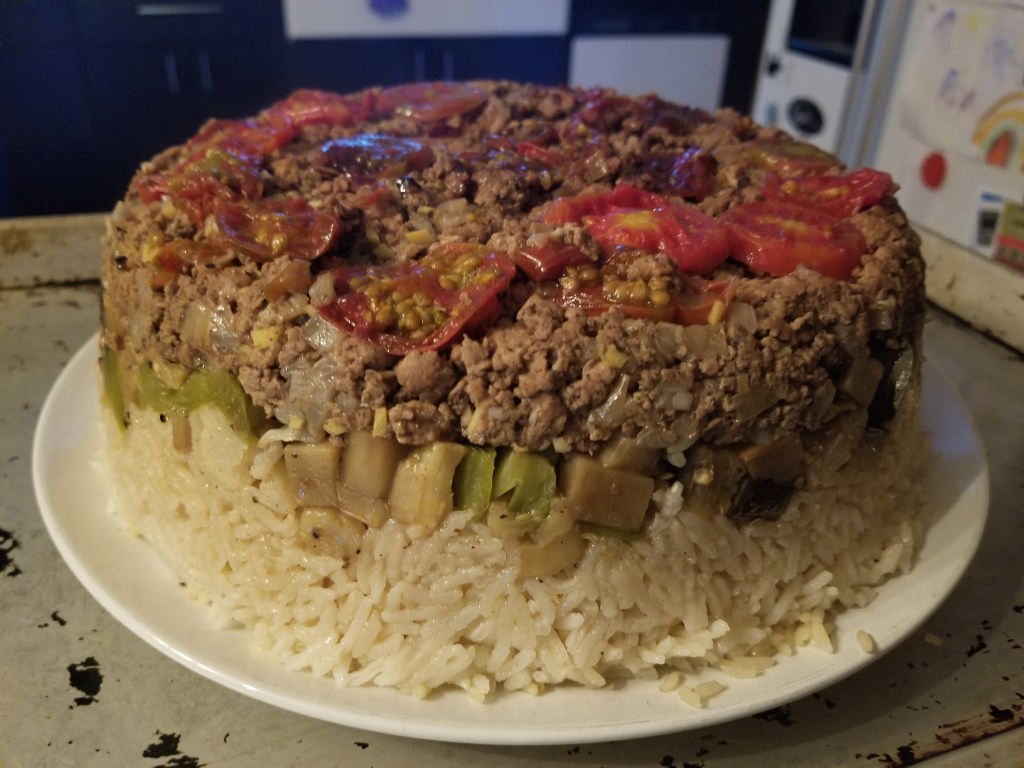
Remove from oven and let cool roughly 45 minutes before either serving or refrigerating. You can absolutely dig in sooner, but the filling may not be set. If you don’t mind messy pie, eat up!

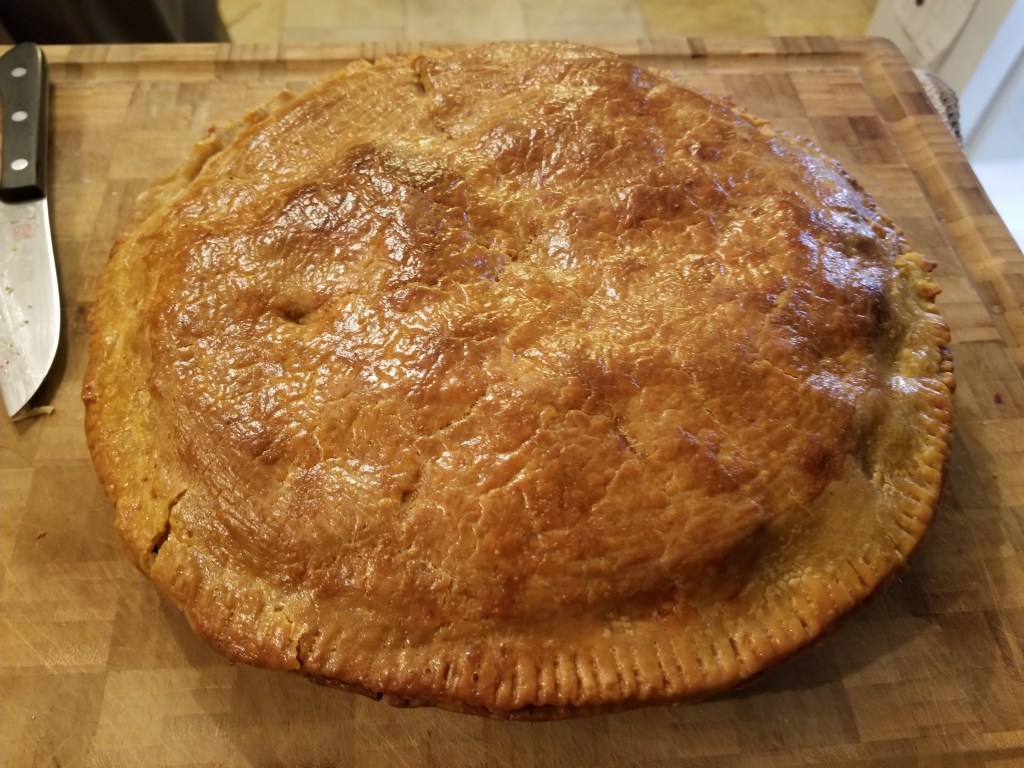
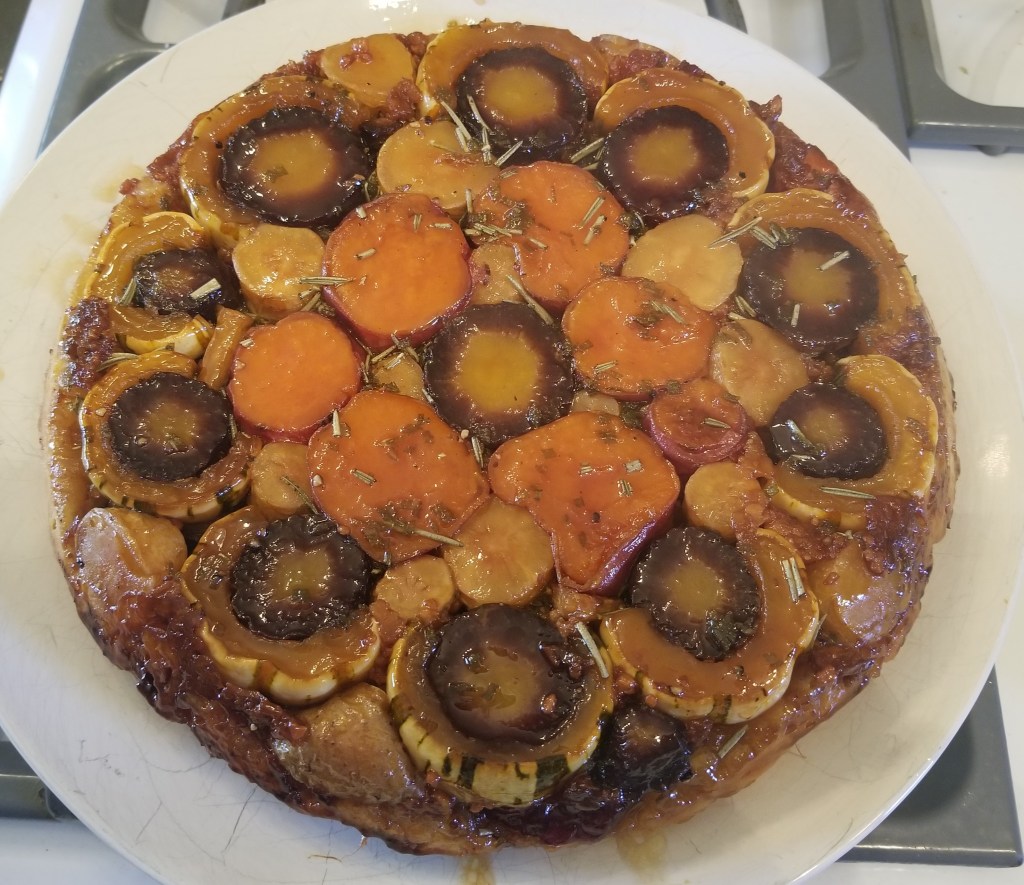
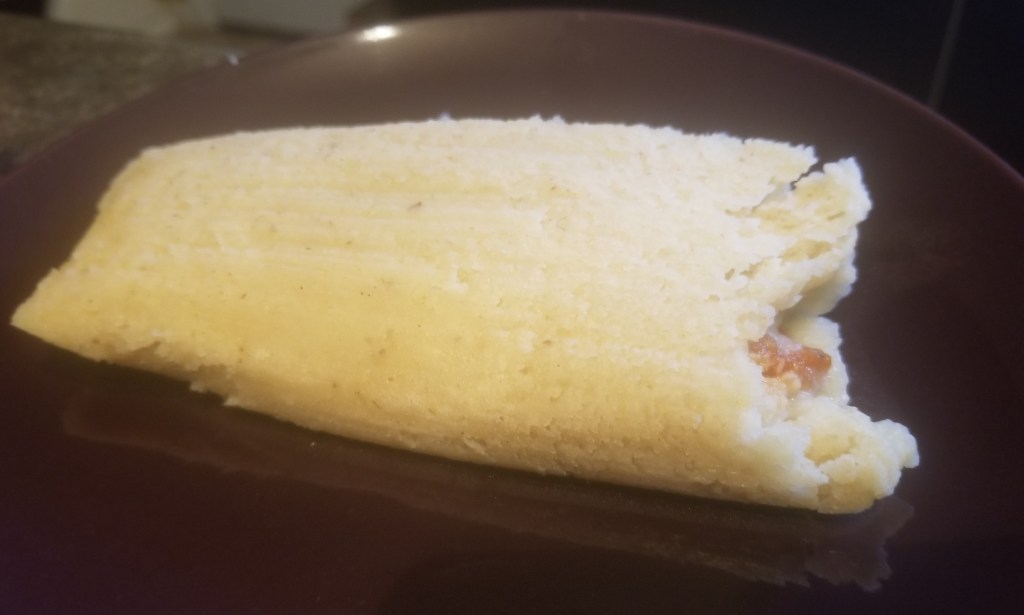
It may not win any beauty contests, but it uses up a lot of ingredients you likely have, almost all of which can be substituted with what you do have.

A note: I like my pot pies full of peas. I would probably put at least two cups of peas in this recipe if it wouldn’t cause a household riot. Add whatever amount of peas feels right in your heart.

Sinclair and Food System Change

Social Change has been on the forefront of my mind during the last year as inequities and disparities, particularly those involving wealth and health, have been thrust into the spotlight. What I have found to be consistently troubling is the lack of transparency that continues to surround our current food system. I recently finished reading The Jungle by Upton Sinclair, which was a powerful reminder of how far safety has come in the industrial food system. Though you may not hear of tuberculous pigs being quickly slaughtered and canned, the trouble now is that “wage slavery” is still the norm, exacerbated by stories such as those coming out of Tyson (pork, beef, and poultry agri-giant) of corporate managers betting on the how many slaughterhouse employees will contract Covid. I am so fortunate to have the financial capacity to make meaningful decisions about food purchasing that reflect my values, such as nearly completely local food sourcing, and I believe everyone deserves the right to choice: food that is affordable, accessible, acceptable, and healthy.

There is so much speculation about the positive impacts that could arise from this pandemic. I’ve really enjoyed following along with the BBC’s “Follow the Food” series. An article about soybeans and how crop specialization could impact malnutrition most recently caught my attention. This article also lightly discusses how current conventional agriculture practices are destroying the earth’s topsoil, leading to desertification, and decreasing planetary habitability. As emphasized in this article, the solutions (better agricultural practices, renewable energy, and dietary changes) already exist, the problem is education and motivation.

From what I have seen, the majority of these articles are sponsored by different biotechnology and agribusinesses, but this transparency gives me more confidence in the information presented than when sponsorship or funding information is buried or difficult to ascertain. Beyond this series, I’ve learned about off-the-grid greenhouses in the Jordanian desert that utilize seawater to cool and irrigate, to the unintended un-desertification many thousands of acres of the Helmand Valley in Afghanistan due to increased access to cheap solar power. The United Nations has a public forum coming up on December 9, based on progress toward the Sustainable Development Goals, to cultivate ideas during this potential explosive time for change. Out of the chaos may come lasting, sustainable change… or it may all end in talk. The only way to find out is to join the conversation!

There are two quotes from The Jungle that have stuck with me. The first from shortly after the family had immigrated from Lithuanian to Chicago, IL.

“A very few days of practical experiences in this land of high wages had been sufficient to make clear to them the cruel fact that is was also a land of high prices, and that in it the poor man was almost as poor as in any other corner of the earth; […]”

The second is toward the end during a period of propaganda and Socialist discussions.

“[…] one of the necessary accompaniments of capitalism in a democracy is political corruption; and one of the consequences of civic administration by ignorant and vicious politicians, is that preventable diseases kill off half our population. And even if science were allowed to try, it could do little, because the majority of human beings are not yet human beings at all, but simply machines for the creating of wealth for others. They are penned up in filthy houses and left to rot and stew in misery, and the conditions of their life make them ill faster than all the doctors in the world could heal them; and so, of course, they remain as centers of contagion, poisoning the lives of all of us, and making happiness impossible for even the most selfish.”

I would love to hear your thoughts.

Autumn Vegetable Tarte Tatin

It appears my honeymoon with upside down food is far from over.

I became caught up on the idea that I needed parsnips for our Fall Feast meal. And really, I’m not sure why. I’ve never really liked parsnips that much, but it had to be. My purchasing option for local/organic + online/curbside was by the pound, so a pound of parsnips it was! This led me down the rabbit hole of parsnips recipes when I came across this dazzling gem from Bon Appetit. I used this Smitten Kitchen crust (lazily). The result had me drooling before it was even flipped.

Ingredients – 9″ pie dish, serves 8, 360 calories per serving

Crust:

  • 1.25 c all-purpose flour
  • 0.25 tsp kosher salt
  • 8 tbsp butter (unsalted)
  • 0.25 cup sour cream
  • 2 tsp lemon juice
  • 0.25 c iced water

Filling

  • 1 medium (5 inch long) sweet potato
  • 1 extra large carrot (purple dragon seen here)
  • 2 small parsnips
  • 1 small squash (approx. 12 ounces), Delicata
  • 0.25 c olive oil (or canola oil)
  • salt, pepper, + garlic powder
  • 0.33 cup sugar
  • 2 tbsp water
  • 1 tbsp rice vinegar (or white whine vinegar)
  • 1 tsp each rosemary + sage
  • 1 small red onion
  • 1 ounce feta
  • 4 tbsp shredded parmesan
  • 0.50 cup shredded mozzarella

Preheat oven to 400°F, with your rack in the bottom 1/3 of the oven.

Begin by making the crust. In a large bowl, combine flour and salt. Cut a stick of butter hot-dog ways into four… smaller sticks. Dice these sticks and add to the flour. Use a pastry cutter (or your hands), until the largest chunks of butter are about pea size; make a well in the center. In a separate bowl, whisk together 1/4 c ice water + 1/4 c sour cream. Add 2 tsp lemon juice and dump this mixture into your well. Stir/fold until it just starts to come together. Roll out a sheet of plastic wrap. Use your hand to mash the “dough” into a ball, then flatten into a disk. Wrap tightly in plastic and refrigerate.

Meanwhile, maybe your oven is hot (mine was not yet). Rinse and pat dry all your vegetables. Grab a ruler or measuring tape (no joke). Cut carrot, parsnips, and sweet potato into 1/2 inch coins/circles/rounds. Cut the sweet potato last because it is the most likely to oxidize. Toss coins into a bowl. Trim the ends off the delicata, cut lengthwise in half, scoop seeds + goop into the compost. Slice into 1/2 inch thick half moons and toss into bowl. Coat with oil, salt, pepper, and garlic powder. Hopefully this took long enough to let your oven finish heating.

Spread the veg on a baking sheet, in a single layer, not touching (socially distanced veg roast more evenly). Roast ~15 minutes, flip, roast another 10-15 minutes until tender and lightly browned.

These need to cool a bit so you can handle them. After you pull them from the oven (please don’t turn it off like I did), begin to make your caramel. Yes, caramel.

Into a small (no bigger than a quart) sauce pan add 1/3 c sugar and 2 tbsp water. Have your pinch of salt and 1 tbsp vinegar handy. Cook over medium-high heat, swirling occasionally. You may want to stir, but I don’t recommend it. Swirl and succumb.

You’re cooking this bubbling monstrosity until it turns “amber colored”. Don’t walk away. And have your pie tin handy and at least room temp. You may want to put it in the oven for a minute or two if your house is as cold as mine (65°F in the kitchen!).

Now comes the scary part!! To your amber colored, molten hot sugar water, throw in your pinch of salt and gingerly, from afar, the tbsp of vinegar. It will crackle and sputter and bubble and pop. Keep swirling. Quickly add this to your pie dish and and swirl around to coat. My pie tin was too cold and I was too slow so this part was unpleasant. I used a silicone spatula to spread it as best I could, but this caramel will harden in about 45 seconds.

Sprinkle the caramel with the rosemary and sage. Arrange your roasted root vegetables in whatever way is pleasing to you in a single layer. Use the smaller pieces to fill in any gaps. Mash things out of shape if you need to. Heck, even if you just want to.

Cut the red onion in 1/2 inch rounds, and “evenly” spread separated rings on top of the roasted veg. Top this with your three cheese mixture.

Remove the dough from the fridge, roll out into a ~12″ round, lay this on top of the veg/cheese and tuck the edges down into the dish. Stab with a fork, somewhat gingerly, but all over. And then a few more times for good measure.

Bake for 20 minutes, then turn the heat down to 350°F for another 20 minutes. At this point, my tarte tatin was not as browned as I would have liked, so I broiled it on high for about 5-7 minutes. The caramel started bubbling up and over and I decided we were done. Remove from the oven, rest 5 minutes, then flip over onto a large plate.

This actually tastes at least as good as it looks. The vegetables are tender and creamy, the cheese has caramelized, and even after cooling the crust remained flaky and crisp.

If you’ve made it this far, here are some bonus pictures of the mostly local, mostly organic Fall Feast we enjoyed.

We got a muscovy duck from Webbed Foot Pines, which came with all its bits! This meant a duck liver pate appetizer. Then a sort of traditional feast of green bean casserole (my green beans and homemade cream of mushroom soup with chanterelles + hedgehog mushrooms from my dad), creamy mashed potatoes and roasted veg from Tantre Farm, Annie’s mac + cheese, and the most decadent bourbon caramel pecan ice cream pie from Go Ice Cream.

This might be the strangest year yet, but we are making sure to eat well!

Upside Down

I went through a phase a little while back, where all I wanted to make was upside down food. The world feels a bit upside down, so our food might as well be too! This started with Smitten Kitchen’s chocoflan recipe. When I saw her photos, I immediately bought a bundt pan just to make this.

It’s supposed to be a magnolia flower, but my partner swears it is just spoons.

This recipe had me making my own dulce de leche and using multiple kitchen applicance. However, it was faily straightforward and otherwise used items I almost always have on hand: eggs, cocoa powder, cream cheese, butter, and brewed coffee. I’ve been told I’m not to make this again because it was impossible to stop eating. But if (when) I do, for our taste I’ll omit the coffee as it was too forward tasting and detracted from the rest.

This recipe totally worked! I was sure it wouldn’t, that I would miss a step or otherwise mess it up. My chocoflan flipped as it should, swapping batter positions as it bakes, but otherwise looks nothing like the swirled beauty it is based off.

Moments prior to the great reveal.

This desert only got better with age (for the week or so it lasted before we gobbled it all down). Next time, I will plan for sharing.

The second flipped meal I made was Maqlooba, which the internet tells me translates to “upside down”, how fitting. During my time interning at the Farm at St. Joe’s, one of the volunteers told me about this recipe as it is his favorite food to make to share with a crowd. The two of us may not be a crowd, but can eat like one if need be!

I based this off a conglomeration of recipes and what I remembered him telling me. Ground lamb, eggplant, and rice were the main staples. All produce used was local and the meat was from my 4-H lamb.

The recipe involved cooking all ingredients except the rice (which was rinsed), with a pot of stock simmering alongside at all times.

The layers began with sliced, raw tomato, followed by the seasoned, cooked lamb and onions, which was pressed down as tightly as possible. The next layer was the vegetable medley; I used zucchini, green bell pepper, and cauliflower. Again, this is mashed into place, by hand, as densely as possible. The final layer is the rinsed rice. After this is mashed down, the hot stock is poured ever so delicately, sometimes using a plate to disperse the stream. Then you put the lid on the dutch oven, turn the heat on low, simmer for 45 minutes and hope for the best.

This mostly worked, too! I was so delighted. I expected it to cave in at any time, but it kept its shape. Until serving when at that point it splayed out completely. This turned out pretty delicious as well, but had about five times more rice than we would have preferred. I am certain that most of the recipes call for so much rice to keep the number of servings above 8. The main recipe I followed called for 2.5 cups uncooked rice, which I used, even knowing how astronomical it would be when cooked.

So fancy, upside down food! Who knows what right side up really means anyway.

This week I finished up three of my four classes and am excited to get started on other projects. First up was some well deserved house cleaning, followed by organizing all the seeds I saved this year. I was thinking of offering heirloom sampler packs for sale, maybe with a growing and/or seed saving guide. Give the gift of self-sufficiency!

Recipe: Thai Chanterelle Coconut Rice

Enjoy this latest recipe creation lightly adapted from Moosewood Restaurant. Keep scrolling to find the bloggy bit where I talk about jasmine rice and oyster mushroom heartache.

Ingredients for 4-6 servings:

  • 1 13.5 oz can of coconut milk, divided
  • 4 tbsp lime juice, divided
  • 1 tbsp minced fresh basil
  • 1 tsp minced fresh cilantro
  • 1 tsp sugar
  • 2 tsp canola oil, divided
  • 3 small chiles, seeded + minced, divided
  • 1 1/3 c long grain white rice
  • 1 1/4 c boiling water
  • 2.5 tbsp kosher salt, divided
  • 1 red bell pepper
  • 1 orange bell pepper
  • 1 pint green beans
  • 1 tbsp unsalted butter (optional)
  • 1 tsp grated fresh ginger
  • 2 garlic cloves
  • 10-14 oz chanterelles, sliced into bite size pieces (or white oyster mushrooms)

First, bring 1 1/4 c water to a boil. While waiting on the water to heat, make the dressing by combining 1/4 c coconut milk, 3 tbsp lime juice, minced basil + cilantro, and 1 tsp sugar. Whisk vigorously ~2 minutes until sugar is dissolved. Alternately, you could combine all ingredients in a lidded container and shake vigorously for ~2 minutes.

In a medium sized (roughly 1.5-2 qt) lidded sauce pan (probably the one you usually cook rice in if you don’t have a rice cooker), heat 1 tsp canola oil over medium heat. Add two thirds of you minced seeded chiles and 1 1/3 c long grain white rice (jasmine works too), stir in with the hot oil and continue stirring and cooking over medium heat for 1-2 minutes–the chiles should start to be fragrant. Add the 1 1/4 c boiling water, 1/2 tbsp kosher salt, and 3/4 c coconut milk. Stir and bring to a boil uncovered over high heat. Once boiling, cover and reduce heat to lowest setting. Cook for 15-20 minutes until the liquid is completely absorbed and rice is fully cooked. Fluff with a fork and set aside.

While the rice is cooking, bring a few cups of water to boil in a large lidded pot. Slice bell peppers into 1-2″ long batons and cut green beans into simliar sized pieces. Once the water is boiling, add 1 tbsp kosher salt and sliced bell peppers. Return cover and boil 1-2 minutes. Remove peppers with a slotted spoon and place in serving bowl. Once the water has returned to a boil, repeat the process with the green beans, starting with adding another tbsp of salt. [The dish can be served hot or cold, and I think this lazy blanching without an ice bath is so nice].

Add the remaining tsp of canola oil to a pan over medium heat. Add the remaining minced chiles, ginger, and garlic, cooking 1-2 minutes until fragrant. Add the optional 1 tbsp unsalted butter and mushrooms. Saute mushrooms over medium heat until softened and lightly browned. Add the remaining tbsp of lime juice and toss to coat. Freeze remaining leftover coconut milk for up to three months.

Two options to serve: combine all vegetables and serve alongside coconut rice drizzled with dressing. Equally as good, but slightly less visually pleasing: combine rice and vegetables, toss with dressing and enjoy. Optional (but you probably should) toppings include microgreens and crushed cashews.

The chiles I used are called lemondrops. I purchased them last year at a farmer’s market in Madison, WI. The vendor told me they were not heirloom, but I saved the seeds anyway to see what would happen. To my delight, they are such beautiful and productive plants! Hotter than a serrano, thin fleshed, bright yellow when ripe with a slightly citrus aroma.

Another decadent option would be to roast either one or both of the bell peppers for a subtle flavor, textural, and visual change. I roasted one of the peppers the first time I made this and would absolutely do it that way again.

This makes a very rice forward dish, which is great for cooking on a budget or feeding a large crowd. Personally, I prefer a higher vegetable:rice ratio, which is why I added sauteed zucchini to my leftovers. As always, feel free to experiment. Increase the amount of listed vegetables. Add more vegetables: leafy greens (spinach, chard, or kale), onions, broccoli, bamboo shoots, water chestnuts, or sprouts would be great here. Seasonal variations could include swapping in peas and asparagus in the spring time.

To increase protein content, but keep it vegan I would use either extra firm tofu or tempeh with this dish. If that is not a dietary concern, baked chicken, pork, or salmon would be my top choices.

Mushrooms are one of very few sources of dietary B-12 not derived from animal products. B-12 is an essential vitamin that is involved in metabolism and energy pathways. For more information, check out the NIH.

We ordered a CSA for the week, that upon pick up came with a free 12 oz of white oyster mushrooms! I was too excited about free food to remember where they came from, but they were definitely foraged, not commercially grown. Having this addition to our box is what led me to this recipe idea. My heartache with this dish began when my curbside grocery pick up order did not include the jasmine rice I bought just to make this. It probably would have enhanced the flavor a little bit, but we did not miss it. The second heartache came when the entire dish was prepared except for the mushrooms. When I went to cut into them, I realized they were full of holes. Burrowing holes. Having grown up with a father who loves mushroom hunting, I knew what this meant before I cut in. I thought, “Maybe it’s okay. Maybe it is just a little bit.”

It was not a little bit. It was a whole lot of large squiggly… fly larvae and I’m horrified for whoever else received this “gift” without knowing it could be a possibility. Luckily for me, my partner reminded me we had frozen mushrooms my dad had previously gifted us. A sandwich bag of chanterelles saved the day! This is especially pleasing as they are the only mushroom I would choose to eat. [Free is my favorite flavor, which is why I was willing to give the oyster mushrooms a spotlight].

Let me know if you try this out or what other changes you think would be good!

Black Beans + Recipe

To begin: Soba Rainbow Pesto Bowl Recipe, page 19.*

My friend Amanda and I entered this Food Safety Recipe Contest. She had the finalist recipe in the Food Blogger category! My recipe made it in as an honorable mention, save the best for last some would say… I’m joking, only because my recipe and then my face are the last in the cookbook. This recipe is typical of something I would make for breakfast and is also gluten free; leave off the egg and parmesan in the pesto for our vegetarian and vegan friends!

In approximately 2010, my friend Jen rented her first (I believe) community garden plot in her neighborhood. I remember reading (in a blog? on Facebook?) about her joy in growing black beans. I eat black beans, but it had never occurred to me that I could grow my own. Michigan is, in fact, the second largest producer of beans, but number one in the nation in terms of black bean production!

One bag waiting to be processed, the other for shells that make an excellent “brown” addition to compost (see previous post). The set aside beans are being saved as seeds for next year’s crop.

I am still stunned every year that I am able to grow protein. I think it is just the bees knees. Not just any protein, but heirloom that can be stored at room temperature for at least a year! My most favorite gardening task is shelling black beans, I look forward to it all year long.

I got a little over-zealous in my planting this year, much to the chagrin of the tomatoes. I really though the beans would climb the tomato cages and instinctively *know* to get out of the way to allow sunshine to reach the budding tomato plants. On the one hand, I grew enough black beans to last us a whole year. On the other, I produced roughly a quart of roma tomatoes and two slicing tomatoes. There was roughly double that, but they were carried away off the plants before ripening. I’m blaming the squirrels.

Beans are so easy to grow, can be a great project for children, AND help fix nitrogen in the soil. Win, win, win. Do you have a favorite type of beans?

*Here is an easy to copy + paste version of the recipe:

Ingredients

Pesto:

1 bunch sorrel*

¼ c raw almonds

2 cloves garlic

2 tbsp grated parmesan

1 tbsp lemon juice

2 tbsp olive oil

½ tsp cayenne

salt + pepper, to taste

Bowl:

1 bundle (345 g) buckwheat soba noodles

1 tbsp olive oil

1 c zucchini, sliced into batons

1 c red bell pepper, diced

8-10 cherry tomatoes, quartered

2 large eggs

1 c black beans, drained + rinsed

1 green onion, thinly sliced

*If sorrel is unavailable, substitute spinach, basil, parsley, or a combination. Extra pesto will keep tightly covered in the refrigerator for seven days, or freezer for up to three months.

Directions

1. Wash hands with soap and water.

2. Gently rub sorrel under cold running water. Tear into bite size pieces and place in food processor.

3. Add remaining pesto ingredients to food processor. Run for 5-10 minutes or until combined into a paste, adding more oil as needed.

4. While the food processor is running, bring a large (6 cup) pot of water and a smaller (4 cup) pot of water each to a boil.

5. Turn off food processor and taste pesto. Season with salt and pepper as needed, processing well after each addition. Cover and transfer to refrigerator.

6. Scrub zucchini with clean vegetable brush under running water. Slice into 1” long batons.

7. Scrub red bell pepper with clean vegetable brush under running water. Dice the red bell pepper.

8. Gently rub cherry tomatoes under cold running water. Cut in half and in half again (quartered).

7. Concurrently, heat olive oil in skillet over medium-high heat. Add zucchini and red bell pepper; stir-fry 2 to 3 minutes, then add cherry tomatoes and black beans. Cook until vegetables are fork tender and slightly browned.

9. Once the large pot of water has reached a boil, add buckwheat soba noodles. Stir occasionally, cooking for 8-10 minutes until fully cooked.

11. Drain and rinse buckwheat noodles. In a large bowl of cold water, “wash” the noodles, rubbing them between your hands. Change water up to three times as needed until mostly clear.

10. To the small pot of boiling water, add both eggs in shell, cover, and reduce heat to medium-high. Wash hands with soap and water after handling raw shell eggs. Cook for 6 minutes to an internal temperature of 145°F. Transfer eggs to a bowl of ice water and peel.

Assembly:

1. Evenly split the buckwheat soba noodles between two large bowls. Top each bowl with half of the vegetable mixture, 1 tbsp prepared pesto, an egg, and garnish with thinly sliced green onion. Enjoy immediately.

Waste Reduction

Celery cut from the garden this morning, destined for tuna salad. Don’t let your celery liquefy!

Today is the first ever International Day of Food Loss and Waste Reduction. Let’s celebrate with a small guilt trip, followed by some waste reduction strategies!

The FAO estimates that 14% of food is wasted before it reaches consumers, such as during harvest, storage, and transportation.1 However, their still resides a responsibility for all of us who eat to do our part to respect that which nourishes us.

When that head of celery wilts and rots in the bottom of the vegetable drawer, it is taking with it the soil, amendments, energy, and labor that went in to planting, growing, harvesting, and shipping it into your fridge. Quite a bit of the produce you consume (and most, if you are shopping small and local) is harvested by hand.2 Additionally, you wasted your time and money procuring and storing it.

Likely you intrinsically already know this. It is not a surprise, but you shrug your shoulders at a $1.99 vegetable, now turning to sludge in your wastebasket. It’s the same as they used to say about cigarettes, you are setting your money on fire. And when this all adds up, it is the world that is left to burn under the weight of an eroding ozone layer.

What a nice guilt trip! Find consolation in this photo of my overstuffed compost tumbler:

Here are a few things I personally do at home to minimize our food waste (and ways I need to improve!):

  • I get overzealous about supporting local producers and buy Way. Too. Much. Food. Especially in these dwindling days of warmth when I know snow and greenhouse grown greens are all that remain on the horizon. To combat this, each week I am freezing, drying, or canning the bounty I schlepp home from the farmers market. However, one of the benefits of buying local foods is that because they are fresher, they last longer! As much as I pretend, this is not an excuse to buy more than I need.
  • Excessively purchased vegetables–here’s looking at you, bell peppers–are washed, cut up, blanched (sometimes), drained and portioned into food saver bags. I ❤ my vacuum sealer. This is how I ensure I have Michigan sweet corn to eat all winter long. This is also a good strategy for produce that is starting to get wilty or that I know won’t get used before it molds.

Trimmings headed for compost vs trimmings for stock. The beet ends could have gone either way, but some were starting to mold, so better safe than sorry.

  • Trimmings – whether from vegetables or meat, these bits get organized into plastic bags in the freezer door. When full, I dump a bag into a big stock pot (in the cold months) or the crock pot (in the hot months), top with cold water and simmer for hours up to overnight to make stock. This is either used as needed or frozen for later. Note: if I had a pressure canner, I would can this stock to free up more freezer space.
  • Compost. Sort of. Produce scraps that don’t go for stock (stems, especially nightshade; rotten bits; moldy, stinky, or slimy), egg shells, and paper bags are the most common items I try to compost. The compost piles are fenced to keep the dogs out, but I have learned that if I put even the most unrecognizable lettuce leaf in, the possums come swarming, then the dogs try to eat the possums… it’s a mess. That means kitchen waste must go in the compost tumbler. The stinky, heavy, unruly compost tumbler that probably should have been emptied years ago and a few times since. I want to be better at composting kitchen scraps (yard waste is easy, just throw it in a pile), but it is admittedly low on my radar. Maybe I should invest in backyard chickens…

They stopped collecting brush this year due to pandemic under-staffing. Likely my compost piles would have looked this way regardless.

For the Sustainable Food Systems class I am currently taking, one of the required texts was Waste Free Kitchen Handbook by Dana Gunders. It provides a nice overview of ways consumers (that’s you!) can combat waste at home. My favorite part is the “Directory” at the end of the book that describes the best way to eat, store, freeze, or use up different food items from produce to oils. I would love to lend this out to anyone interested, for yourself or someone you know.

  1. A major step forward in reducing food loss and waste is critical to achieve the SDGs. FAO. http://www.fao.org/news/story/en/item/1238015/icode/. Published October 14, 2019.
  2. Labor: US Fruits and Vegetables. Rural Migration News.
    https://migration.ucdavis.edu/rmn/more.php?id=1596. Published January 2011.

Tallow Soap

When I called the butcher to discuss what cuts of meat I wanted from my lamb, I asked for everything but the head.* I specified all bones and fat trimmings. Imagine my delight when I picked up my bounty, neatly labeled and vacuum sealed, save for the untied 20 gallon trash bag of frozen trimmings–the bag that occupied the bottom drawer of my stand up freezer for 4 years, with the odd bone pulled our here and there to make stock.

Between working the farmers market stall next to Marjie, the soap making class I took with the MI Folk School, and the power of the internet, I was sure I could make my own soap. While this meant rendering the tallow, I had participated hands on, once, and people have been making soap for thousands of years! And I had a recipe!

Y’all. I lost the recipe. I had it squirreled away somewhere, but four years is a long time for me to keep track of two pieces of paper. In retrospect, the class didn’t use tallow in it’s recipe and I would have had to change it anyway. It is unlikely I would have recognized this though and probably would have used the recipe as written. Instead, using a lye calculator and betting on average, I was ready to begin. I melted the tallow on the stove, got it too hot and had to wait an hour for it to cool enough, then I was ready. Caustic chemicals are super scary, so I fully dressed for the occasion.

This experiment was the perfect use for these massive stainless steel bowls I bought through an online auction of a defunct secondhand commercial kitchen mart.

Stir, stir, stir… the first warning that something was wrong with my calculations was that the soap took three times as long to get to the “trace” stage than it was supposed to.

But it did. I was dancing around my backyard, literally jumping with joy. At this stage, I added lavender essential oil I bought from a company in Kalamazoo. Everything local! Using an old Tupperware that I generally use to mix potting soil in for a mold, the soap was covered, swaddled with a towel and let to rest over night. The directions I settled on said to unmold and cut after 24 hours and place on a wooden rack to cool. I choose the closest thing I had.

The second time I knew I had done something wrong was when I attempted to unmold and cut the soap. I chose not to “superfat” the soap and maybe this was my mistake. I imagined something much more pliable than my result, like a hard fudge. What I got instead was more like fudge that you forgot about and let sit out on the counter for a few weeks.

Here we are. The rack of soap is currently curing in a closet. In about three weeks I will report back on the efficacy. It’s so crumbly, I may end up using the majority for laundry soap. For now, at least, it is acting like a lovely air freshener for the first story of the house.

If you’ve any experience with soap making (or not) and have any troubleshooting tips to offer up, I’d be much obliged. I used roughly 1/3 of the tallow I rendered to leave room for improvement.

*It should be noted the butcher I chose took this to heart. I was concerned when I saw something black in the bag of trimmings. Had my freezer gone out and some point and it molded? Nope. Feet. Black, fuzzy feet.

Tamales

The first culinary use of the rendered tallow came with quite the learning curve. I’ve eaten tamales many times, in many different iterations, but had never made them. Fortunately, I came across an excellent video tutorial. While a basic understanding of Spanish helps, this video is easy to follow without.

The rendered tallow is worked by hand until it resembles frosting. The batter is then kneaded with warm vegetable broth to insure complete hydration of the Maseca corn flour. It is said that to test when the batter is ready, a small chunk will float in a glass of chilled water. That chunk remained floating during the entire process of filling and steaming two batches. I am still extremely proud.

For the filling, I used a 2.5 pound boneless pork loin (what I had on hand) simmered in vegetable broth in the slow cooker on low for roughly six hours. I used two different salsas to dress the meat: leftovers from my most recent canning and a green tomato/avocado based sauce.

For dinner, we ate them immediately as is. Fortuitously, I preferred the green (topped with red), while my partner preferred the red. For breakfast, I made myself a feast with an over-medium egg and fresh cilantro garnish.

The recipe is straightforward, the fussiest part is creating the correct consistency. I needed to add twice the liquid called for to form a spreadable batter. At its base, all you need is lard (or tallow), vegetable (or other) broth, salt, baking powder, and Maseca corn flour which is easily found at any major grocery store. The filling can be any shredded meat with sauce or it can be made vegetarian by substituting Crisco for lard with corn, beans, peppers, and cheese. Without someone to teach me, having a video that really shows the textural changes the batter undergoes while kneading was tantamount to my success.

Tamales were a lot more work than I anticipated, but the flavor was better than anything I’ve had before. To achieve this, I recommend using an extremely flavorful broth and not skimping on the salt. Luckily, tamales freeze very well and we have a few more meals to enjoy in the future.

Tallow

In 2014, I attended the second 4-H auction of my life. The year previous, my friend Jen shared her secret to local, ethical, affordable meat that supported area youth. I signed up as a bidder with the hope of returning home the proud owner of a delicious pen of chickens. What had been, in years past, a category overflowing had dwindled to one family of three children raising chickens. I was quickly and devastatingly outbid by local businesses who were better able to financially support the kids. Admittedly, I was more interested in eating the fruits of their labor. I did manage to win a pen of rabbits which gave me the opportunity to learn how to breakdown an animal (thanks, YouTube).

But in 2014, I was determined to come home with a much larger prize to fill my new freezer. I don’t eat a lot of meat, especially not red meat, but I do have a taste for lamb.* This was my first time bidding in a live auction and I was ill-prepared for how stressful it would be! Every time I raised my paddle, my heart was pounding out of my chest, I was sweating, and I’m pretty sure I cried a little. I set a price cap and was outbid on my first three choices. On the fourth, I was also outbid, but the winner chose to only take the smaller of the two lambs (they are generally sold in pairs). At this point, as the second highest bidder, I was asked if I would like the larger lamb at the winning bid. I was so exhausted from bidding and had only planned on keeping one lamb, so I agreed. Jen was joyously congratulating me when I felt someone tapping on my left shoulder. I turned to see an elderly woman at my side, smiling at me with teary eyes. “Thank you,” she said. When I clearly looked confused she elaborated, “That was my grandson. Thank you so much for buying his lamb.” The unlikelihood was not lost on me, and this definitely felt fated.

With my goal met, Jen and I wandered off to find the lamb I had purchased. I took her photo, which has since been lost due to my poor digital management skills. Shown is the lamb I purchased this year. I cannot stress the importance of knowing where your food comes from, of teaching children where their food comes from, to begin to build an appreciation for the world we live in. With that appreciation comes gratitude.

That same year, I had taken a soap making class with the MI Folk School. As a person, I want to see and do everything at least once. When I had my lamb butchered, I asked for everything but the head. I specified all bones and fat trimmings. I had plans to make stock and to make soap.

Fast forward six years and with the purchase of another lamb looming in my future, I needed to make space in the freezer. The bottom drawer was completely full of a garbage bag of trimmings.

I worked through it in batches. Thawing, grinding, and cooking down the trimmings. I used the wet method of rendering the tallow. This meant adding enough water to submerge the particles. I used my giant crockpot, which I set in the mudroom as all the articles I read warned that this process would be stinky. This was the right choice. While it didn’t smell bad, it smelled a lot.

After the first rendering, which I left to cook overnight, I realized I had quite a bit of straining to do. The suet was still in chunks and I was aiming for a homogeneous product. After double straining, I let the mixture cool to separate the tallow from the liquid. This remaining liquid was brown and thick and per internet recommendations, I flushed it down the toilet. I was left with impure tallow that still smelled a bit meaty. Personally, I prefer my soap to not smell like food. I wet rendered the tallow a second time and created a creamy white, almost scent free product.

I felt so much gratitude at this step. I stood over my pot of tallow and cried, thanking this lamb and the little boy who raised her for giving me this opportunity. Not only for feeding me for the last few years, but now allowing me to create another tangible, necessary item and grow my skill set.

I might not have taken the head or hide, but I used as much of this animal as I could. I rendered, in total, just under 8 pounds of tallow, destined for soap and delicacies to be detailed soon.

*Not as big of an appetite as I had presumed; it took me almost six years to finish the whole lamb.